I match grow lights to each plant’s growth stage, starting seedlings with blue-heavy or full-spectrum LEDs or fluorescents 6–12 inches above for 16 hours daily.
As plants mature, I add red light to support flowering and fruiting, adjusting height to maintain proper PPFD intensity. I choose LEDs for low heat and adjustable spectra, or fluorescents for budget-friendly broad coverage, always prioritizing PAR metrics over lumens.
Timers keep my photoperiods consistent, and I watch for yellow leaves or leggy growth to troubleshoot distance issues. Fixture placement and automation directly impact your indoor harvest success.
Pick the Right Grow Light for Your Plant’s Growth Stage
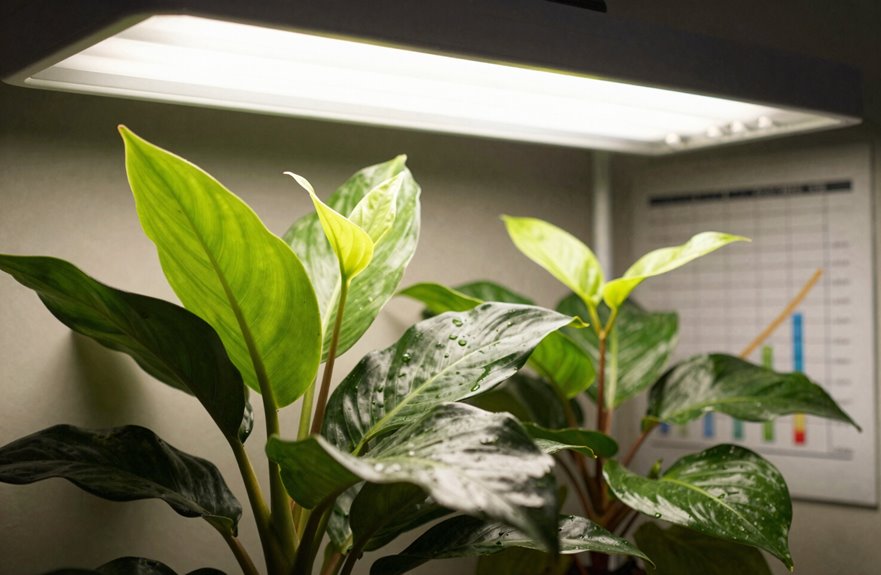
Since your plants’ needs shift dramatically as they mature, I match my grow light setup to each growth stage rather than using one approach year-round. For every seedling, I favor blue-heavy or full-spectrum LED grow lights or fluorescent tubes, keeping them 6–12 inches above to promote compact, leafy growth with roughly 16 hours of daily exposure. As my plants progress, I adjust the light spectrum by adding red light to support flowering and fruiting crops like tomatoes. I monitor photosynthetic photon flux density and tweak distance from plant to manage intensity, preventing leaf scorch while extending my growing season. Whether I’m running T5 fluorescent tubes or LEDs, I’m always tuning that red-to-blue balance so my indoor garden thrives.
Choose Between LED and Fluorescent: What to Buy?
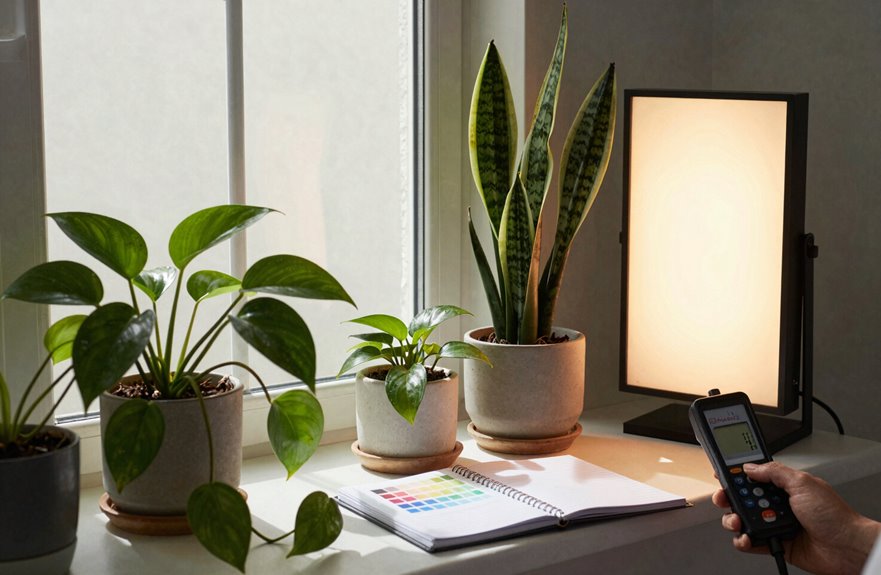
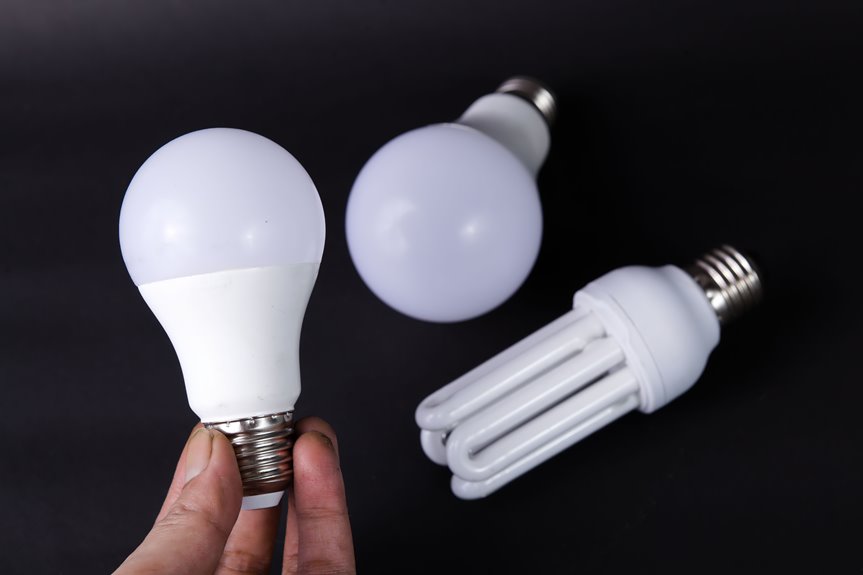
Why choose between LED and fluorescent when both can fuel a thriving indoor garden? I weigh my options by looking at what my plants actually need.
| Feature | LEDs | Fluorescents |
|---|---|---|
| Heat Output | Low, won’t scorch leaves | Moderate, gentle warmth |
| Spectrum Control | Adjustable red/blue or full-spectrum | Fixed broad spectrum |
| Energy Efficiency | Higher PPF per watt | Lower, but budget-friendly |
I don’t chase lumens. Plants respond to PAR wavelengths, so I check PPFD and PPF values instead. LEDs cost more upfront but run cooler and let me dial in photoperiods with precision. Fluorescents suit my seed-starting corners and leafy greens beautifully. Either light source works. I match my full-spectrum choice to my space, budget, and growth goals.
Position Your Grow Light: Distance Guidelines by Plant Type
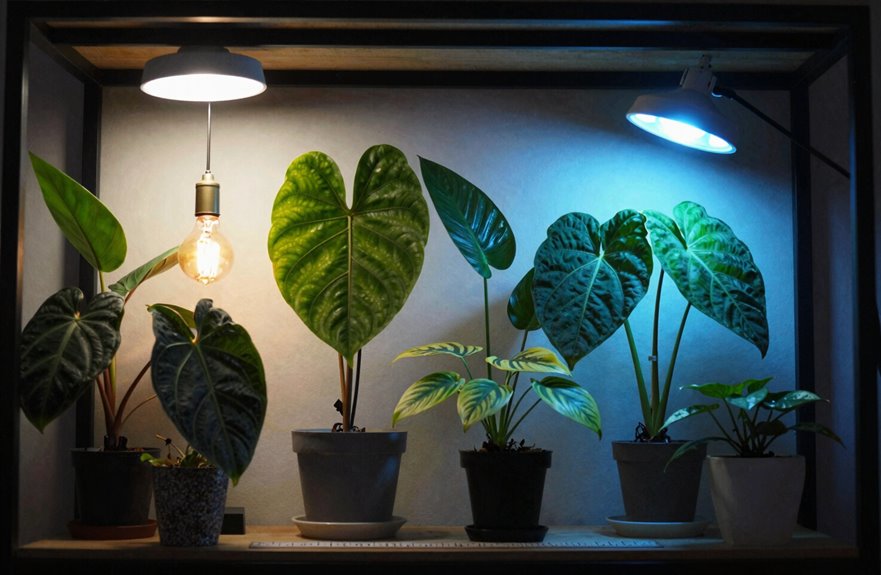
Light distance varies by fixture type and plant stage. LEDs run cooler and can sit closer, while fluorescents need more space to avoid heat buildup. As your plants mature, adjust height according to each growth phase.
Distance by Light Type
How do I know I’ve positioned my grow light correctly? Distance from plants depends entirely on your light type.
- Incandescent bulbs belong 24 inches from seedlings. These run hot and lack intensity.
- Fluorescent tubes hang 6–12 inches above foliage for steady, gentle coverage.
- LEDs sit 12–24 inches away; their intensity stays reliable without heat stress.
- HID fixtures need 18–36 inches with proper air extraction for heat management.
Low-light houseplants tolerate farther placement, while flowering specimens require closer, higher-intensity positioning. Getting your grow lights dialed in means balancing coverage and heat output. Adjust distance based on your plant’s response and your light’s specifications.
Height by Plant Stage
Where should I hang your grow light? The answer depends on your plant stage and light type.
For seedlings, keep grow lights 4–6 inches away. This distance provides strong light intensity without burning tender leaves. As indoor plants mature, adjust the distance to match their needs: hydroponic lettuce and herbs thrive at 6–12 inches for optimal PPFD, while foliage houseplants prefer 12–24 inches to balance coverage and heat management. Flowering houseplants need the 6–12 inch range to fuel bud development.
LED versus HID fixtures require different positioning. LEDs can be positioned closer since they run cooler, but HID fixtures demand more space to prevent scorching. Matching your photosynthesis spectrum, light duration, and height ensures your plants grow optimally together.
Build a Simple Grow Light Setup for Any Room
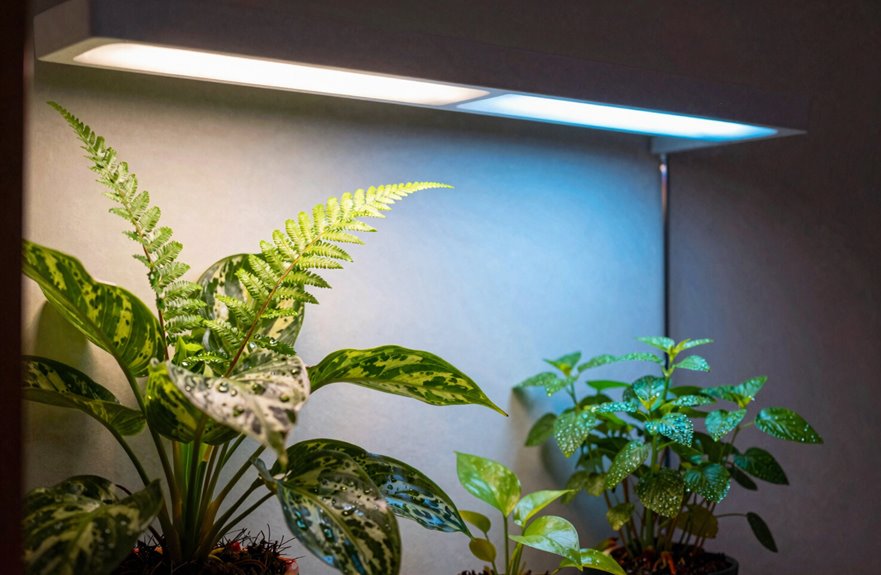
A basic grow light setup doesn’t require much space or technical know-how. You can build one today to join fellow indoor plant enthusiasts.
- Mount two 60 cm T5 HO fluorescent tubes 60 cm above your plants for even coverage and strong intensity.
- Position grow light fixtures directly overhead to simulate sunlight, or side-mount on walls or fridges for full plant coverage.
- Choose blue wavelengths for leafy growth and red wavelengths for flowering, or select full-spectrum options supporting all stages.
- Maintain a consistent photoperiod using a timer for your indoor plants’ health and stress prevention.
Adjust height as seedlings mature. This approach creates a thriving plant community in your room.
Automate Your Grow Light Schedule With Timers
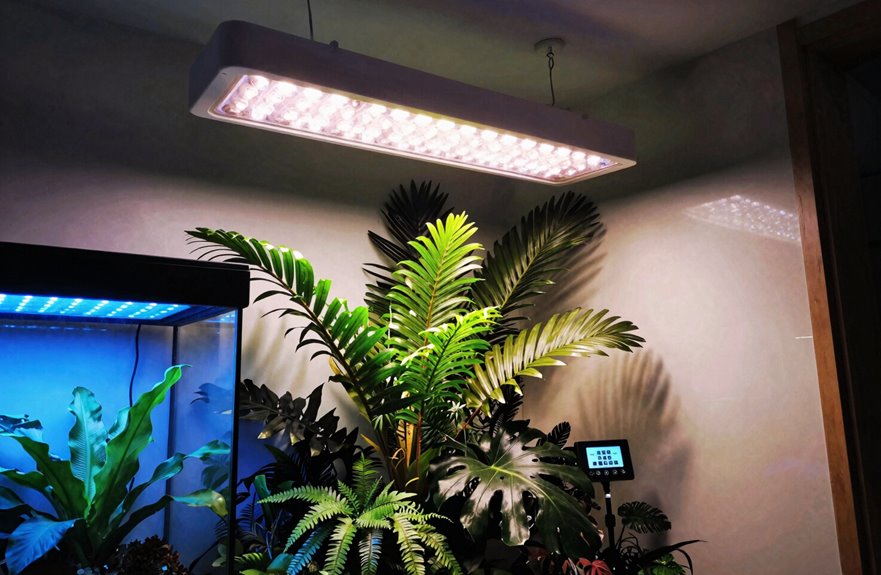
Most grow lights come with built-in timers. I set mine to turn on at 7:00 a.m. for 12 hours to match my plants’ photoperiod needs. This consistent schedule prevents the stretching and weak growth that occurs with manual switching, while ensuring seedlings receive the 12–16 hours of light they require along with the essential 8-hour darkness period for recovery.
Timer Setup Basics
Every serious indoor gardener eventually hits the same wall: remembering to flip grow lights on and off manually becomes exhausting, and plants suffer from inconsistent schedules. Automating your light schedule through proper timer setup keeps indoor gardens thriving without daily intervention.
Here’s how to automate your light schedule:
- Match photoperiod to growth stage — I run 16 hours for seedlings, 12 hours (7 am–7 pm) for mature plants, always preserving that minimum 8-hour dark period.
- Choose LED timers with ramp features — My timer’s sunrise/sunset ramp prevents shock during on/off cycles.
- Protect your investment — Plug everything into surge protection to safeguard both timer and grow lights.
- Verify weekly — Double-check that your programmed schedule aligns with each plant’s current needs.
Darkness Period Importance
Setting up timers handles the on-cycle, but the off-cycle matters just as much. Plants aren’t machines; they need darkness to thrive. Most growers in this community follow schedules like 12 hours on, 12 hours off, or 8–16 hours paired with a mandatory 8-hour dark period. This reflects actual photoperiod needs.
Inconsistent lighting damages plant health. A reliable timer, such as 7 am on with a 12-hour off period, stabilizes circadian rhythms and reduces stress. Light leaks must be monitored; even small interruptions delay flowering or trigger premature blooming. When switching between LED, fluorescent, or HID systems, maintain that dark period consistently. Plants respond to the rhythm you establish.
Diagnose Light Problems: Yellow Leaves and Leggy Growth
With indoor plants, yellow leaves and leggy growth are the first clues that something’s wrong with your lighting setup. When plants struggle with photosynthesis, chlorosis sets in and stems stretch toward any light source they can find. Uneven light distribution is a common cause of plant decline.
To resolve these issues:
- Check your light distance by keeping fluorescent bulbs 6–12 inches away and LED grow lights 12–24 inches above foliage
- Boost light intensity by targeting higher PPFD/PPF values for stronger growth
- Optimize your light spectrum using blue wavelengths to encourage compact, healthy leaves
- Rotate plants weekly and ensure even coverage so no corner stays dim
These adjustments will restore your indoor garden to health.
Grow Vegetables Indoors: Light Schedules for Tomatoes, Herbs, and Greens
How do you keep tomatoes, herbs, and greens thriving under artificial light? Mastering light schedules transforms indoor vegetables from struggling seedlings to abundant harvests.
| Indoor Vegetable | Light Requirements |
|---|---|
| Tomatoes | 14–16 hours daily, increasing intensity as plants grow |
| Herbs | 12–14 hours from LED fixtures 60 cm above seedlings |
| Leafy greens | 12–14 hours with blue light for sturdy foliage |
| All seedlings | Full-spectrum or red-blue mix, 6–12 inches above canopy |
Start tomatoes early to extend the season, ensuring they receive that essential dark period. For herbs and leafy greens, position grow lights carefully and adjust height as plants mature. Use a timer to maintain consistent photoperiods; plants respond to routine schedules. With proper LED fixtures delivering the right spectrum, you can harvest fresh produce year-round.