
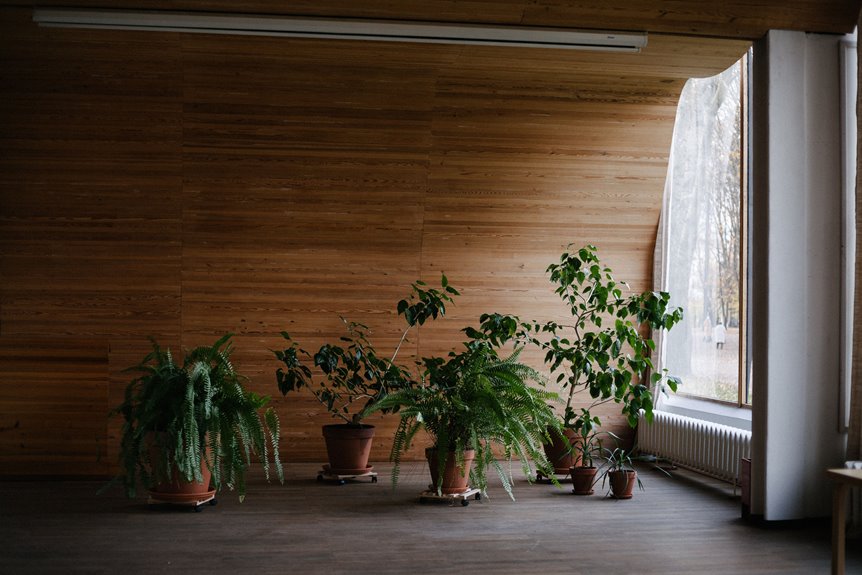
I start by checking my space for natural light and sturdy ceiling or wall structures, keeping plants away from pets and kids. I pick trailing varieties like pothos or spider plants that cascade beautifully.
I match my hardware to my wall type; drywall needs anchors, studs handle heavier loads. I install hooks rated well above my plant’s total weight, including wet soil. I hang them 2–3 feet below bright windows for indirect light. I water in the sink or shower, letting them drain fifteen minutes before returning. Each step requires careful attention to detail and proper execution.
Assess Your Space for Hanging Plants
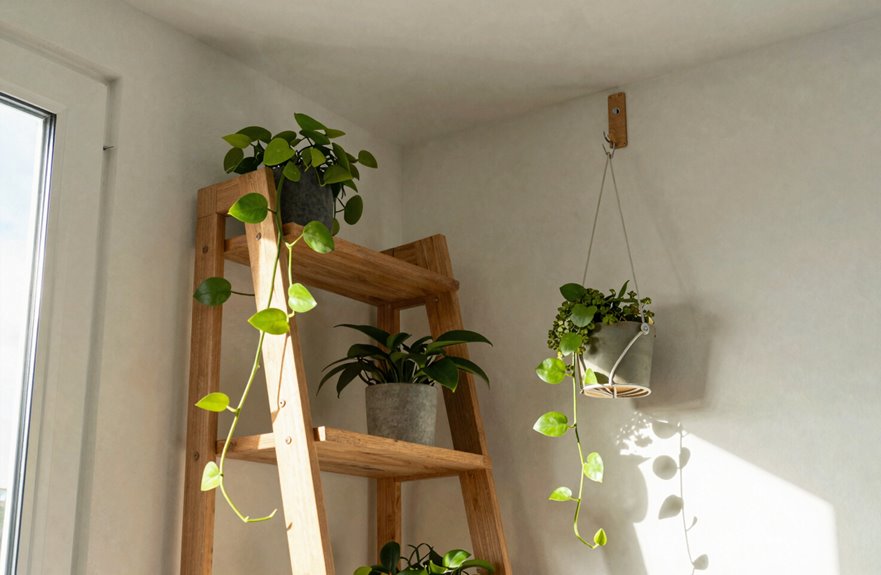
Where do I begin when I want to bring greenery indoors? I start by assessing my space carefully, and you’re welcome to join me in this process.
I check my natural light first. I avoid placing hanging plants where they’ll block sunlight from windows, yet I ensure they still receive enough light for photosynthesis. I examine my ceiling and wall structures, using sturdy hooks and a drill to support weight, especially for heavier trailing varieties.
I identify accessible spots for maintenance, prioritizing lower shelves and ledges I can actually reach. I consider pet and child safety, selecting out-of-reach areas or using tension rods to prevent accidents. I plan moisture management too, ensuring my hanging spots allow easy watering and proper drainage within fifteen minutes to protect my floors and furniture.
Pick Plants That Thrive in Hanging Displays
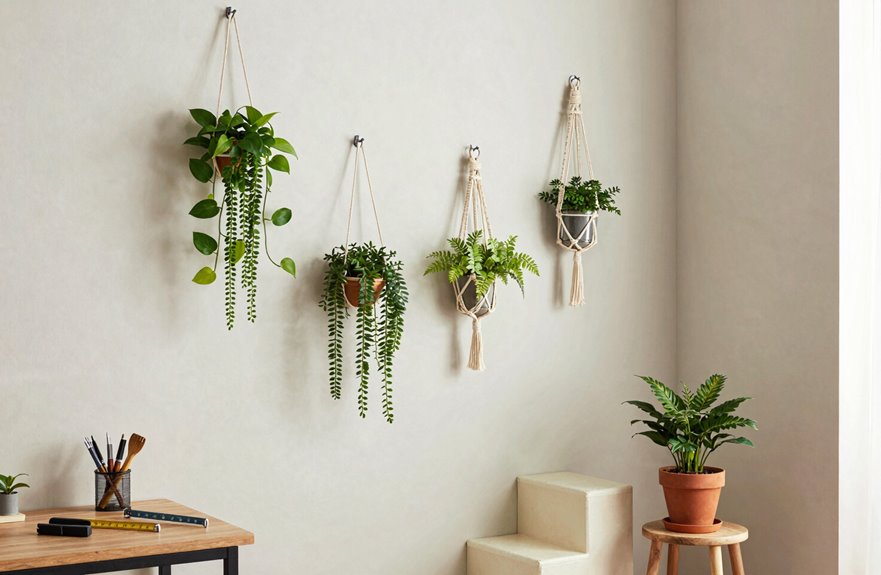
Now that I’ve mapped out my space, I turn my attention to selecting the right plants for hanging displays. I want trailing plants that make my home feel lush and welcoming.
I look for varieties that cascade beautifully in indoor hanging displays. English ivy, heartleaf philodendron, devil’s ivy, and Boston fern all create gorgeous draping effects. I’m starting with a spider plant because it’s the best beginner option and tolerates inconsistent care.
I group different types together for visual variety and a full, thriving appearance. I place them where they won’t block essential window light and keep them within easy reach for watering and pruning. This approach lets me maintain something beautiful without overwhelming my schedule.
Choose Hardware Your Walls Can Handle
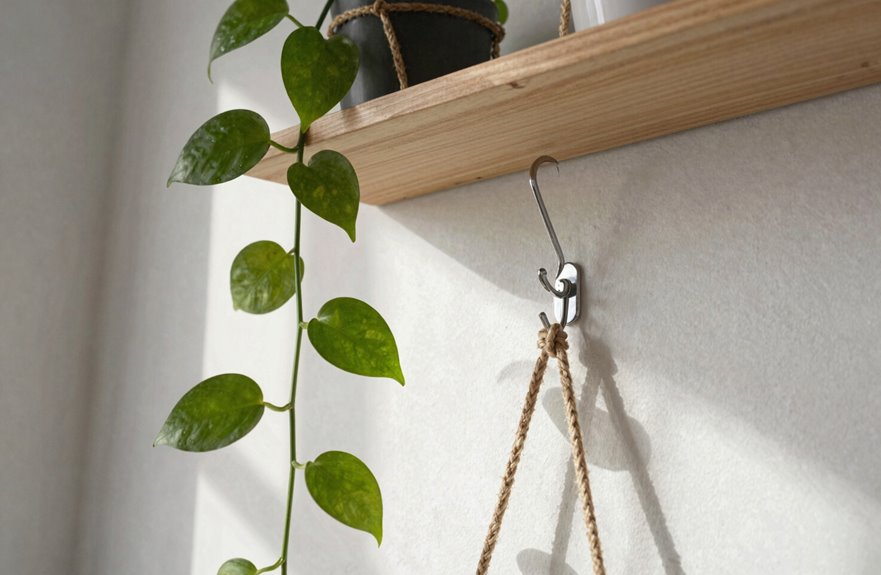
I grab my drill and sturdy hooks, knowing my walls need reliable anchors to hold whatever greenery I hang. My space deserves plants that feel secure, not precarious.
Finding weight-bearing solutions means matching hardware to what I’m actually growing. My walls tell me what they’ll tolerate.
- Drywall crumbles without proper wall anchors holding everything together
- Studs offer natural strength I can trust with heavier pots
- S hooks on existing fixtures let me avoid new holes entirely
- Knobs and ledges become unexpected allies for lighter hangers
- Macrame suits my small plants; metal brackets cradle my statement ferns
I check each spot before committing, imagining my plants thriving in community with my space. The right hardware holds weight and prevents damage, letting me build my indoor jungle with confidence.
Install Hooks That Hold the Weight
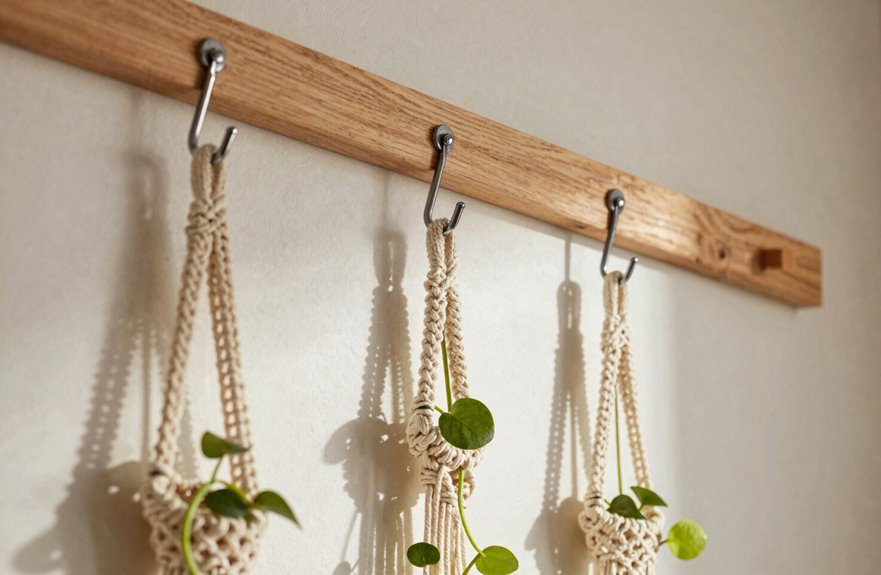
I always check the weight capacity on my hooks before buying them, since a hook that can’t handle the load creates a safety risk. Once I’ve got the right hardware, I match my drill bit to the hook’s pilot hole requirements so I’m not damaging the wall or leaving the fastener loose. Getting these two details right keeps my plants securely mounted and my walls undamaged.
Weight Capacity Check
Before I drill a single hole, I double-check that my hooks and anchors can handle the full load: plant, soggy soil, water, and hanger, plus a hefty 50% buffer for any swaying or shifting. I match my weight capacity to my wall type, knowing this protects my plants.
- I verify each hook’s rated load exceeds my plant’s total weight
- I choose anchors designed for my specific wall material
- I spread heavier loads across multiple hooks or ceiling joists
- I confirm tension rods match my combined plant and water weight
- I recheck hook integrity after watering when soil’s heaviest
This careful preparation ensures my installations won’t fail. Proper weight capacity assessment prevents plant drops and wall damage, which are the actual consequences of inadequate hardware selection.
Drill Bit Selection
Which bit grabs the job? I match my drill bits to my wall material and my hardware. For concrete or brick, I grab a masonry bit. For wooden studs, I switch to a wood bit. Size matters too; I use 1/8″ to 1/4″ bits for lightweight hooks, and 1/4″ to 3/8″ for heavier brackets.
I always pre-drill pilot holes slightly smaller than my screws. This prevents wall splitting and ensures a snug, secure fit.
When I’m hanging something substantial, I don’t skip wall anchors. I choose ones rated for my plant’s weight plus extra margin. Safety requires eye protection, a clear workspace, and cleaning out dust before installing anchors. Then I can hang with confidence, knowing my plants are secure.
Hang at Heights for Light and Growth
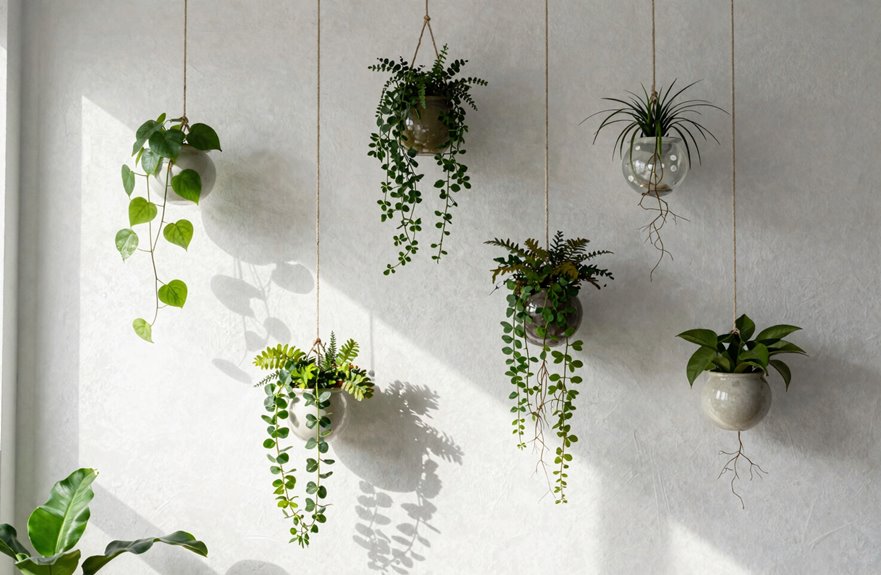
Plant positioning depends on understanding your space’s light conditions. Position plants at heights that receive bright, indirect light while keeping windows unobstructed and avoiding glare. Trailing varieties work best at eye level or slightly above, allowing them to cascade downward naturally while remaining accessible for regular watering and maintenance.
Optimal Light Positioning
Positioning your hanging plants at strategic heights transforms how they capture light and thrive. Varying heights maximizes light exposure throughout your space, letting each plant soak up what it needs without creating shadows that dim your rooms.
Follow these positioning strategies:
- Hang trailing beauties like pothos 2–3 feet below your brightest windows, giving them gentle indirect light that fuels growth without burning delicate leaves
- Place hooks near south- or west-facing windows where warmth gathers, keeping your green companions accessible for care
- Avoid blocking windows entirely, preserving the natural brightness you need
- Rotate your plants regularly so every side receives its share of nourishment
- Cluster plants at staggered heights, building a living community that shares light rather than competing for it
Growth-Friendly Heights
Where exactly should your plants hover to truly prosper? I’ve found that hanging indoor plants just above eye level captures the best light while keeping care simple. You’ll want to align your hangers with natural light pathways. This lets trailing varieties soak up rays without blocking your windows.
I mix mounts at varying elevations to build a vertical display where multiple plants share gentle, indirect light. I tuck sun-loving trailers closer to glass and push shade-tolerant climbers higher up where light filters through. As seasons shift, I rotate and adjust heights so every plant maintains steady access. Your indoor plants will develop lush, even growth that transforms your space into something alive and welcoming.
Water the Easy Way: Sink and Shower Method
Bringing your hanging plants to the sink or shower takes the hassle out of watering and keeps drips off your floors and furniture. This method comes from fellow plant lovers and simplifies how you care for trailing plants.
Here’s what makes this approach work:
- Gather your hanging plants and let them drink deeply without fear of mess
- Protect surfaces with a tray so you keep your spaces damage-free
- Wait fifteen minutes for excess water to drain
- Watch for yellow leaves or drooping, which indicate watering issues
- Adjust your schedule based on each plant’s needs
This simple ritual keeps your plants healthy and your home clean.