I build bamboo trellises that last by following ten clear steps. First, I pick my design—teepee, panel, or obelisk—based on space and plant needs. Then I gather poles, wax-coated cord, and basic tools. I cut everything to size and seal the ends to stop rot. I lay out the pattern flat, mark every crossing point, and lash joints tight with square knots. Cross bars add climbing surface; a finial tops off obelisks. I install deep, plant at the base, and inspect yearly. I’ll walk you through each step in detail.
[link-whisper-related-posts]Pick Your Bamboo Trellis Design: 5 Styles Compared
Few decisions shape your garden’s personality quite like choosing a trellis style. Finding a bamboo trellis design that fits your space takes thoughtful consideration.
Choosing a trellis style shapes your garden’s personality more than you might expect.
Teepees and obelisks add instant charm without weighing down your soil. Teepees create cozy, conical hideaways, while obelisks draw the eye upward with their elegant finials.
If you’re working with walls or fences, vertical panels give your vines that flat, grid-like surface they need. Lean-to styles keep things simple and space-smart against existing supports.
Arch trellises function well as garden doorways and handle heavier climbers effectively.
Consider vine vigor, available space, and whether you’re building something freestanding or attached. The right trellis matches your specific growing conditions and garden layout.

Package included : The height of bamboo trellis is 16 inch, each package includes 3pcs trellis. Three shapes are available for you to choose from

Natural bamboo trellis: Made from natural and renewable materials, bamboo is fumigated twice to ensure strong quality and durability. Our garden trellis is hand-picked and hand-made to ensure the premium quality, it is very sturdy and flexible to be used in the garden for several seasons
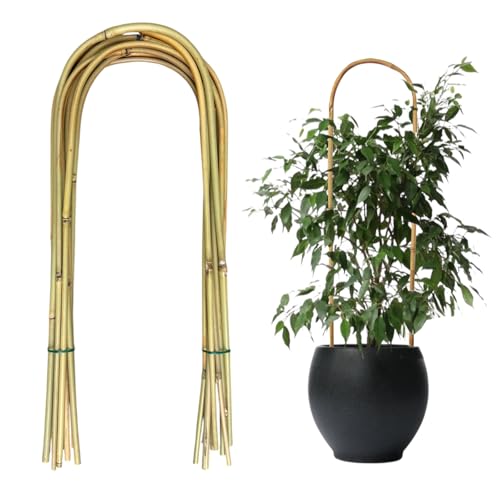
【Natural bamboo】Made of natural renewable bamboo material, handmade bamboo shape to ensure the product is beautiful and strong, after heat fumigation treatment, effectively prevent cracking, long life.
Gather Materials for Your Chosen Design
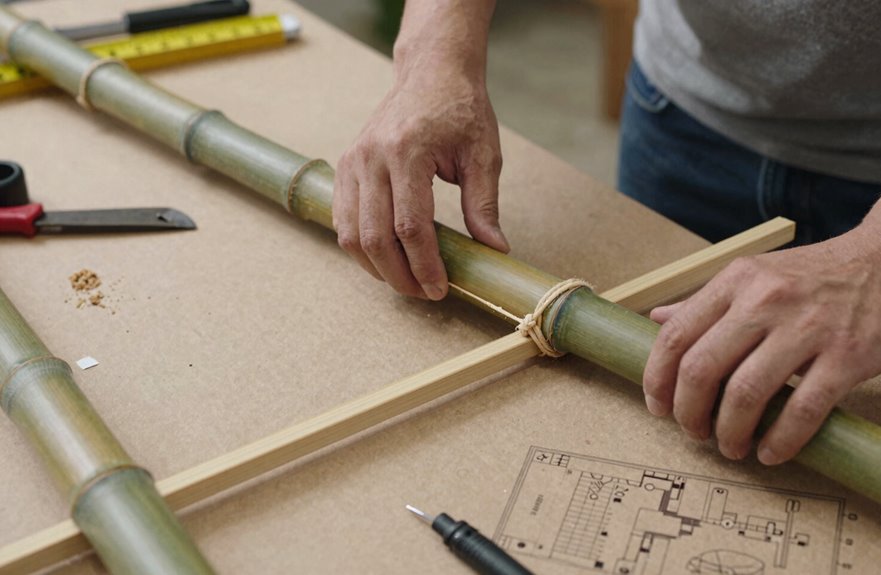
I’ll help you gather everything you need before we start building. Select bamboo canes in different thicknesses to give your trellis both strength and visual appeal, and grab wax-coated lashing cord since it holds up against moisture. Keep your hand saw, measuring tape, and pencil close by, and sketch out your verticals and horizontals on paper first so you’re not guessing once you start cutting.

【Waterproof and Durable】: Our obelisk trellis is made of metal tubes and PE plastic coating, which prevents the tower from rusting, waterproof and able to withstand all kinds of weather conditions, ensuring a long service life.
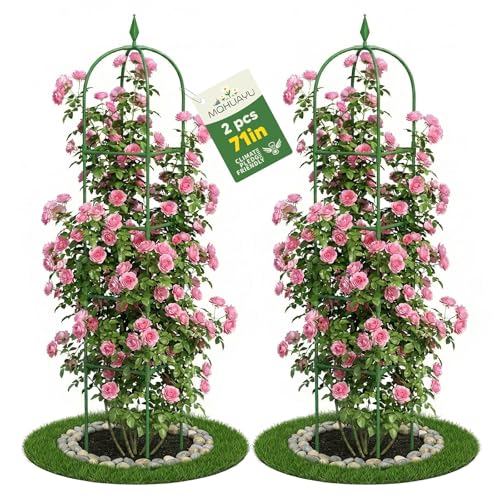
【6 Ft Adjustable Height】This 4-tier garden trellis for climbing plants provides ample space to plant thrive. With removable 4-way connectors, you can easily adjust the height as your plants grow—reaching up to 6 feet tall. It offers the flexibility needed for healthy vertical development

Supports Heavy Climbers & Vining Plants: Obelisk trellis can handle the weight of vigorous climbers like roses, clematis, beans, or cucumbers, preventing plants from sprawling on the ground
Choosing Your Materials
Where do you start when building something meant to last? I always begin with the right bamboo canes. I gather several in different diameters: thicker ones for vertical support, slimmer ones for visual interest. Together, we’ll create something that belongs in your garden.
I choose wax-coated black lashing cord to bind joints securely. The dark color creates striking contrast against the pale bamboo. I keep a hand saw nearby for cutting to size, plus a ruler and pencil for marking intersecting points before assembly. This prevents shifting when we’re working together.
If you’re building an obelisk-style trellis like I sometimes do, grab cross bars, beads, and candle cups too. These details transform a simple structure into something personal, something that reflects your individual style and taste.
Essential Tools Needed
Materials in hand, I move to the tools that will bring this trellis to life. I grab my hand saw first, which is essential for cutting bamboo canes to height. For thinner pieces, I switch to pruners. I keep my ruler and pencil close to mark where canes intersect; precision here prevents problems later.
I lay out my wax-coated black lashing cord for binding joints tight. My 26-gauge florist wire waits nearby for extra security at stress points. I have cross bars, beads, and candle cup components ready for finishing touches.
Before assembly, I seal all cut ends to block water and rot. I trim canes from the bottom after my initial cuts, making sure sky-facing ends sit above nodes. These tools and proper technique create a durable structure.
Cut Bamboo to Size and Seal the Ends
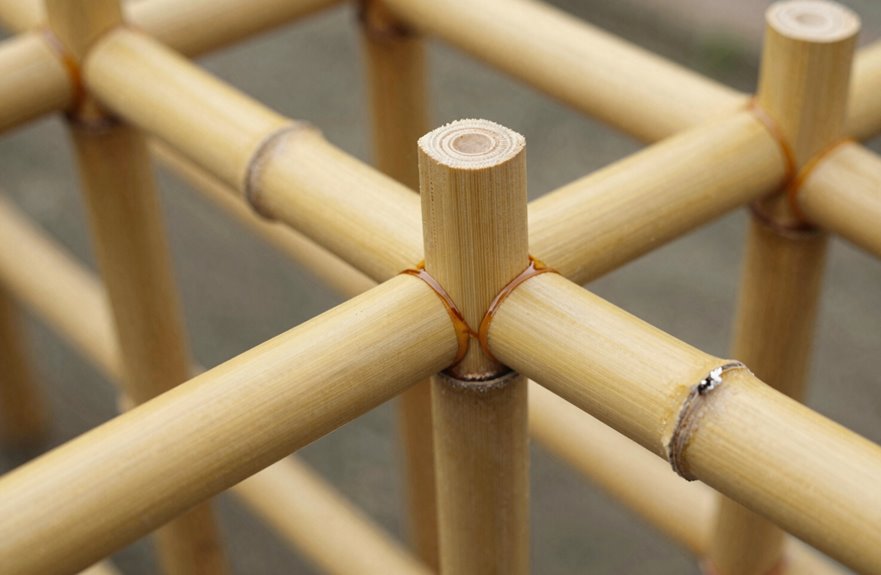
Why start with uneven, unprotected poles when a little prep work prevents problems later? Taking time here makes the whole build smoother.
Here’s how to do this:
- I cut sky-facing vertical ends above a node to block water and rot
- I trim from the bottom afterward for level, even poles
- I size horizontal canes now for precise pre-assembly fit
I grab my thin hand saw and mark intersecting points with pencil for clean alignment. Then I apply sealant to every cut to stop water absorption and extend the trellis life. Sealing bamboo ends at the start prevents rot and structural failure later.
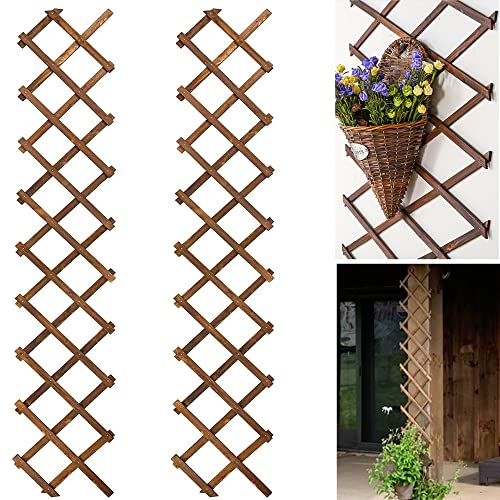
🌲【Natural Wooden Fence】 :Wooden lattice wall planter are perfect for climbing plant and provide them enough places to stretch branches. Besides, they can be used as wall-mounted flower pots shelf, garden fences, and home decorations that can hang family photos or string lights.

🌑[Plant Growth Support]:Garden plant trellis are committed to helping your indoor for potted plants and adds to the natural beauty. As plants grow, the houseplant trellis takes the form of a ladder to help your plant climbing and growing.

【Rust-Resistant Material】: Cucumber trellis is constructed with high-quality galvanized steel inner pipes and an exterior plastic coating, forming a dual-layer rust-proof barrier to ensure long-lasting durability
Lay Out Your Pattern on a Flat Surface
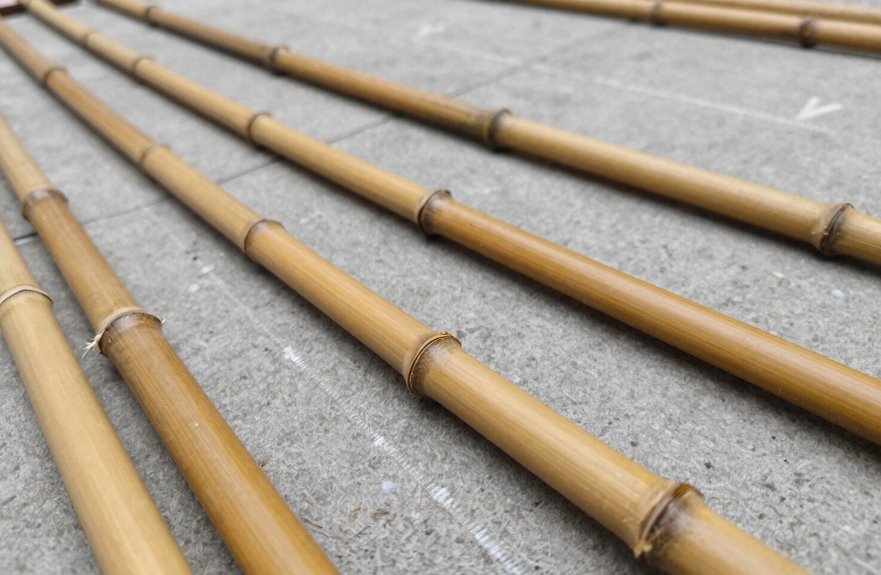
How do you know your trellis will look right before you lash anything together? You lay it all out first. I spread my bamboo canes on the driveway, any flat surface works, to see the design come alive. This step lets us catch spacing problems early, when they’re still easy to fix.
I grab a ruler from my local hardware store and measure even gaps between vertical canes. Then I align my cross bars, checking that every intersection feels balanced. We’re building something that will support living vines, so precision matters. I step back and squint at the pattern, making sure it looks right from every angle. This shared moment of preparation connects us to generations of gardeners who’ve done exactly this. Once I’m satisfied with the layout, I’m ready to secure what I’ve created.

Coloch set of 20 pack bamboo U trellis support measures: Length: 15.8 inches, Width:6 inches. The sufficient quantity can meet your demand and the size is suitable for a wide range of plants.

【Natural bamboo】Made of natural renewable bamboo material, handmade bamboo round-shape to ensure the product is beautiful and strong, after heat fumigation treatment, effectively prevent cracking, long life.

Extended Natural Bamboo Chain Trellis for Indoor Climbing Plants: This light hanging chain potted plant trellis indoor features approximately 1.8 meters (6 feet) length with 20 interlinked bamboo rings, serving as an ideal climbing plant support indoor, pothos climbing support, vining plant support, and mini trellis for potted plants. Perfect as a hanging chain for plants or chain for hanging plants to help your houseplants grow tall and healthy
Mark Every Crossing Point With Pencil
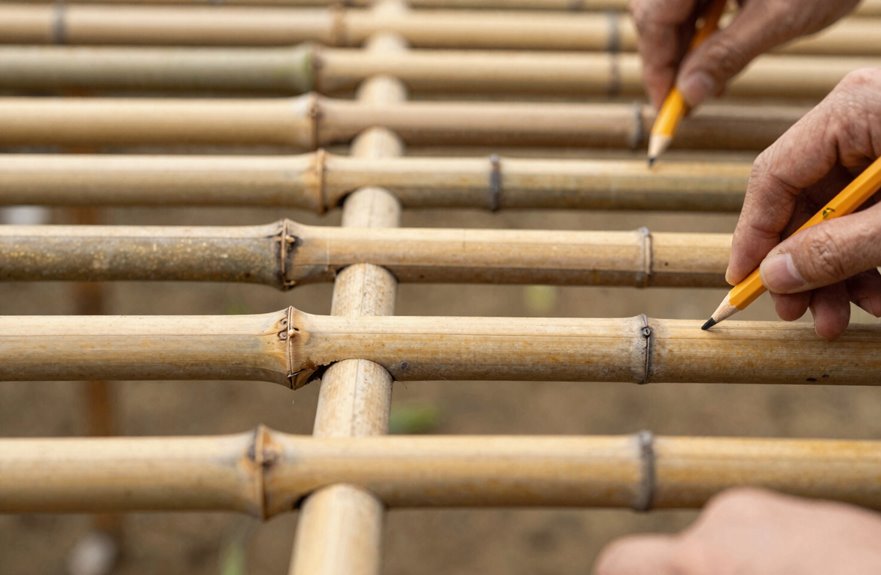
A pencil becomes your best insurance policy against crooked joints. I mark every crossing point where my vertical and horizontal canes intersect, and you’ll want to do the same. These marking points keep everything steady while I work, preventing the frustrating shifts that ruin a trellis before it’s even finished.
How I approach marking points:
- I place light, visible marks at each intersection to guide my pattern
- I keep marks shallow; deep grooves weaken the bamboo where it matters most
- I recheck and adjust after laying everything flat, confirming my layout before moving forward
This step connects us to generations of builders who’ve learned that marking precisely reduces errors during assembly. When your marks are accurate, your trellis becomes structurally sound.

Waxed Cord Roll: package includes 1 roll of burlywood waxed cord, about 1mm in diameter, 100yards(91m) in total length, long enough and you can cut into different lengths according to your needs, perfect for making decorative bows on glass vases for centerpieces

Waxed Cord Roll: package includes 1 roll of dark brown waxed cord, about 1mm in diameter, 100yards(91m) in total length, long enough and you can cut into different lengths according to your needs.

1mm Waxed Cotton Cords: Softer than Korean waxed cord, waxed polyester cord, and waxed linen cord yet not as sticky as waxed twine hemp cord, the lightly coated cotton wax cord makes great waxed jewelry cording.
Lash Poles Tight With the Square Knot Method
Those pencil marks now guide my hands as I pick up a 4–5 foot cord segment and begin binding the first intersection. I’m lashing these canes together with full tension, pulling each wrap tight so the joint stays rigid under pressure. You’ll feel the structure come alive as the square knot locks everything in place. Right over left, left over right, following the standard technique. I keep my lashing neat and snug, working my way through every marked crossing until the frame holds steady. Once I’ve tied off, I trim the ends and seal them with glue. The trellis will remain stable without wobble or slipping, maintaining its strength through multiple seasons.

【Elegant Design】Crafted from natural bamboo and metal nails, our teepee bamboo trellis is both eco-friendly and durable. Its distinctive conical shape adds an artistic touch, enhancing your garden's charm beyond traditional flat grids.

【Elegant Design】Crafted from natural bamboo and metal nails, our teepee bamboo trellis is both eco-friendly and durable. Its distinctive conical shape adds an artistic touch, enhancing your garden's charm beyond traditional flat grids.
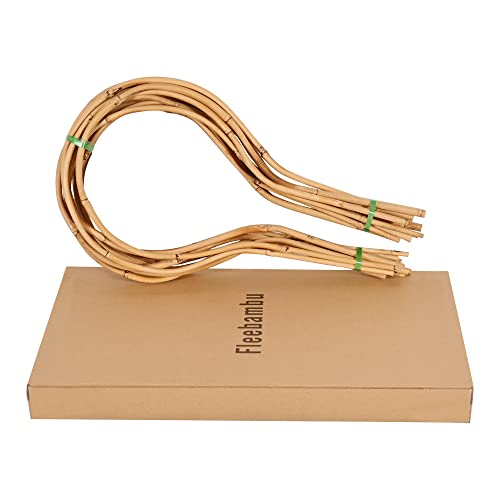
Unique new design curved bamboo stakes. Easy to use, no installation and assembly required.
Add Cross Bars for More Climbing Surface
Cut two cross bars to fit your trellis width, then lash them across the three vertical supports to give your vines more room to climb and grip. Position them evenly to create anchor points where tendrils catch hold.
- Cut bars to your exact trellis width for flush joints
- Bind each bar to all three verticals using square knots, sealing ends with glue
- Angle bars outward or extend them past verticals for extra grip and wind resistance
Start with 4–5 feet of cord and tighten progressively as plants mature. This maintains stability without crushing tender growth. Sealed lashings block moisture and protect bamboo from rot, extending the lifespan of your structure across multiple seasons.

【GARDEN TRELLIS ONGOING SUPPORT】Adjustable Height (6.2FT/74.4") is the perfect size to work as a trellis for climbing plants outdoor. This garden trellis can be adjusted by increasing or decreasing the connecting rings based on different plant heights, giving a more adaptable space for plants to grow
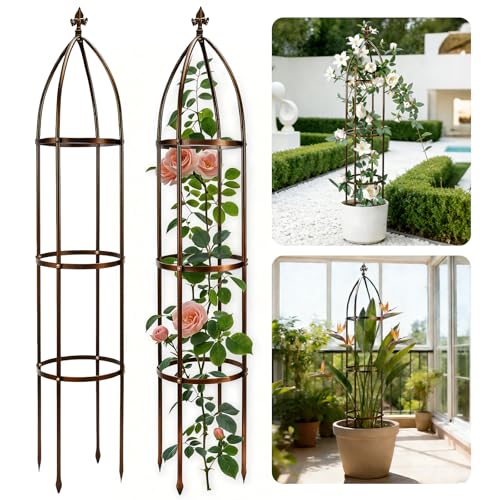
Thickened tubing: Our metal garden obelisk trellis climbing plant support are made of high-strength metal tubing with a diameter of 16 mm and a wall thickness of 0.5 mm. This high-strength material makes the supports less prone to bending and deformation, extending their service life and ensuring stable support even outdoors.

QUALIT: Jollybower U-hoops bamboo trellis are hand selected and made from and renewable materials. Plant support bamboo has been fumigated twice to ensure strong quality and long life. Small plant trellis are very flexible, durable and can support climbing plants, so our potted plant supports will not be easily blown down by the wind.
Top With a Finial (Obelisk Style Only)
I’ll walk you through choosing a finial that complements your garden’s style, securing it with glue and wire, and matching its paint to your bamboo’s natural tone. Start by gluing an oblong wood bead to a candle cup, then attach this assembly over your bundled poles after testing the fit. Seal the finial with glue and paint it before the final tightening to keep your obelisk crown durable and visually cohesive.

🌲【Natural Wooden Fence】 :Wooden lattice wall planter are perfect for climbing plant and provide them enough places to stretch branches. Besides, they can be used as wall-mounted flower pots shelf, garden fences, and home decorations that can hang family photos or string lights.
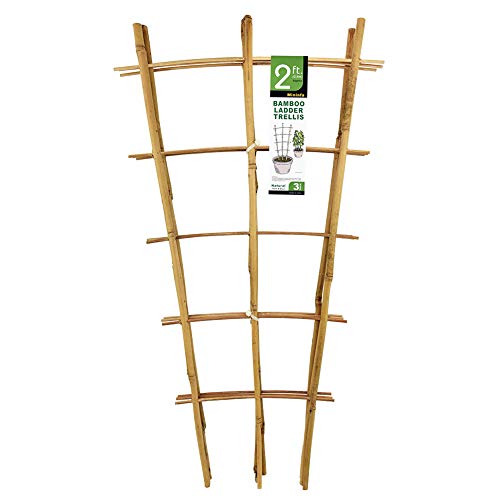
QUALITY – Our premium bamboo trellis are all handmade, using the high quality bamboo from the subtropical monsoon climate region. Very strong and flexible, durable for several seasons, so our potted plant support won’t be easily blown down by the wind, climbing trellis can help taking some weight of your plants like tomatoes or peppers. Bamboo is eco-friendly materials. All bamboo canes are hand selected and hand treated.
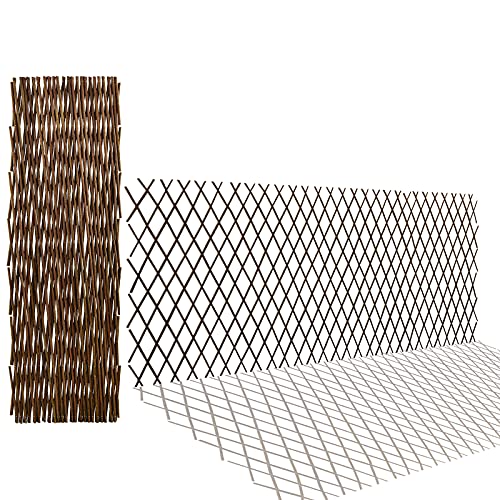
NATURAL WILLOW FENCE :This extended willow faux ivy fence is made of natural willow trees and our willow wicker fence can be expanded to the size you need., natural willow color
Finial Selection Options
A well-chosen finial transforms the obelisk trellis from simple garden structure to striking focal point. Consider these options for creating that perfect finishing touch.
- Classic Wood Bead: Glue an oblong wood bead to a candle cup for a timeless silhouette that draws the eye upward.
- Painted Match: Finish the finial details to match the bamboo exactly, ensuring the decorative accent feels cohesive rather than tacked on.
- Secure Assembly: Attach the bead with strong adhesive, creating a snug fit that withstands weather and serves as the trellis’s finishing accent.
Integrate the finial during Steps 1 and 2 of obelisk construction to secure a stable, visually striking apex.
Attachment Method Steps
How do we transform three simple bamboo poles into an elegant garden obelisk? I’ll show you how we bring this bamboo trellis to life together.
I select three similar poles and trim them to equal length. I bundle them tightly and wire them together at the top, then test that my candle cup slides cleanly over the bundle. I apply glue inside the cup, slip it over the poles, and let it set.
Next, I add two cross bars to the sides, lashing them with jute in a square knot pattern. I position them to maximize climbing surface for plants. After securing each joint, I trim the lash ends, seal them with glue, and add one final square knot to eliminate wobble.
I glue an oblong wood bead into the candle cup for my finial, then paint it to match the bamboo tone. This creates a cohesive, stable centerpiece ready for display.
Paint Matching Tips
The finial crowns your obelisk, so matching its paint to the bamboo’s warm, earthy tones creates a unified, intentional look. I glue an oblong wood bead to a candle cup for my finial, then attach it with adhesive.
- Test color saturation on scrap wood before touching the finial
- Apply waterproof outdoor acrylic paint to resist weathering
- Seal with clear outdoor sealant to prevent moisture damage
Let each coat dry fully between applications. You can harmonize with bamboo’s natural hues or choose a contrasting shade for emphasis. Both approaches are valid options for thoughtful makers. Proper paint protection ensures your trellis stays vibrant through seasons of growth.
Install Deep and Plant at the Base
Why settle for flimsy supports when you can sink these bamboo poles deep and build something that will last. Space them about two feet apart in a triangle for rock-solid stability. Gather the tops roughly a foot from the peak and bind them tight with twine to form a sturdy apex that won’t wobble in wind.
Loop a twelve-foot twine piece around one pole and wrap all three eight times, pulling snug at every lap. Weave horizontal rungs between them, crossing twice between each pair to craft a lattice that will bear real weight. Once your framework is complete, finish with trellis planting by nestling pea transplants an inch apart along the base, ready to climb.

🌑【Plant Support】Our bamboo lattice frame provides strong support for upward growth of plants. With a ladder-like structure, it is stable and sturdy, assisting plants in climbing upward.

[VERSATILE HEIGHT OPTIONS]: Our Trellis for Climbing Plants Outdoor come in 2-foot, 3-foot, 4-foot, and 5-foot versions, providing flexible support for plants of various sizes, ensuring they have the structure they need to thrive.

【Plant Growth Support】 The bamboo plant trellis is designed to support the upward growth of your indoor potted plants, enhancing their natural beauty. As your plants mature, the houseplant garden trellis transforms into a ladder-like structure, providing assistance for your plants to climb and flourish.
Inspect Yearly to Reach 10 Years of Use
Where else would you find a garden structure that asks so little yet gives so much for a full decade? I make trellis maintenance my autumn ritual, and I invite you to join this quiet tradition that keeps our gardens thriving together.
- Scan joints and sealed ends for dryness, cracking, or water damage where rot sneaks in.
- Tighten lashings and swap worn poles or wax-coated cord before wobble becomes collapse.
- Check cross bars, finial connections, and spots where climbing plants strain bindings.
I catch these small betrayals early: loose knots, splitting bamboo, creeping weakness. I fix them before winter tests what we’ve built. This yearly attention transforms “about 8 to 10 years” into a promise kept. We’re gardeners who tend things properly.

MATERIAL - Made of polyester and wax, the wax is inside the cord instead of on the surface.

wax thread for Bracelets: Package includes 20 rolls of wax string in various color, approx. 1 mm in diameter, and 25 yards per roll in length. Perfect for making bracelets, anklets, necklaces, beading, macrame knotting, jewelry making, crafting, wrapping and wind chimes

2mm Waxed Cotton Cords: Softer than Korean waxed cord, waxed polyester cord, and waxed linen cord yet not as sticky as waxed twine hemp cord, the lightly coated cotton wax cord makes great waxed jewelry cording, macrame cord, & wax beading cord.