
Clean from the highest point down and from the cleanest zone toward the dirtiest, and vacuum with a HEPA-filtered unit, since a standard shop vac can blow fine particles back out the exhaust.
Your site’s written protocol overrules any general checklist, because steps change with the room’s class. Wash, then gown, before any supplies move.
[link-whisper-related-posts]1. Check Site Protocols
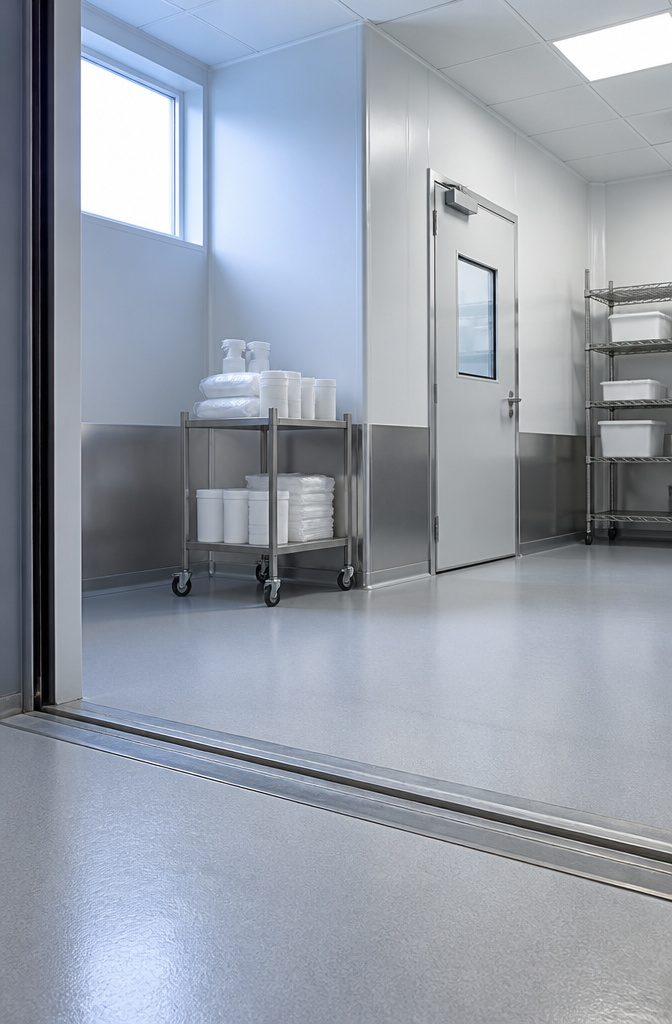
Cleaning steps change with the cleanroom’s class and with each facility’s own requirements, so the site’s written protocol overrules any general checklist, this one included.
Read it before you touch anything, especially if the team or the room is new to you.
Only trained personnel should clean, and only with cleanroom-certified or cleanroom-approved supplies and solutions. A hardware-store spray or a regular cotton rag can add the very particles the room is built to keep out.
Gather your supplies in a sterile, uncontaminated area outside the cleanroom, before you gown or step through the door.
Anything you forget means a trip out and back in, and every crossing is another chance to carry something in. I’d stage the whole kit in that outer area first, then move on to the gowning step.
2. Gown Up First
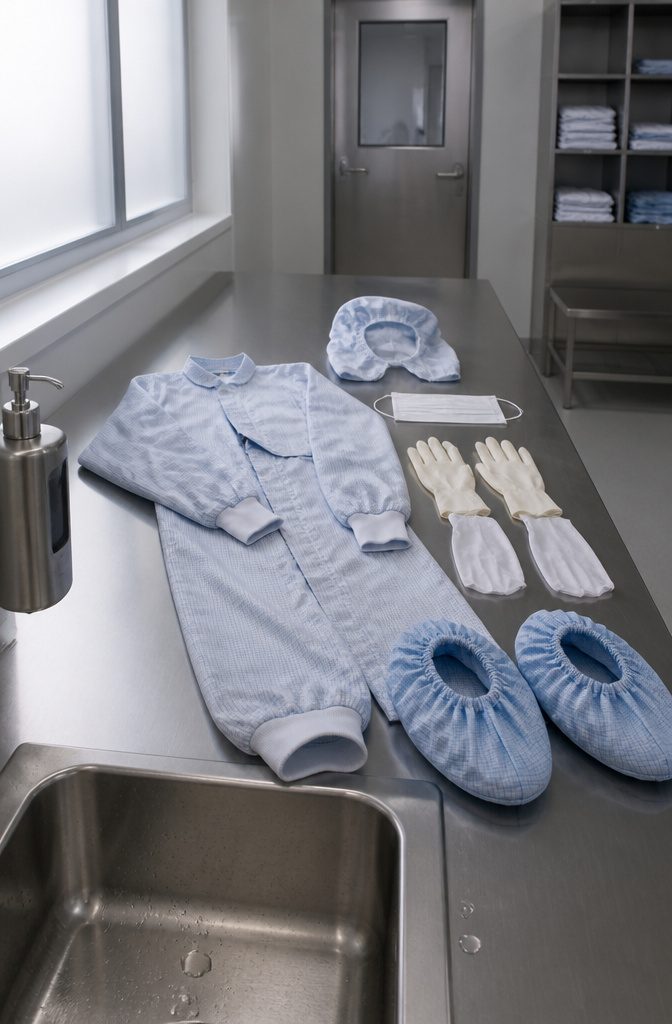
Handwashing and gowning come before any cleaning supplies move. Work through it in this order:
- Wash your hands with soap and water. Skin carries contaminants you can’t see, so this comes before any gear goes on.
- Check the cleanroom grade first, then pick attire to match it. A stricter grade calls for more coverage, and I wouldn’t guess.
- Put on the full set: gown, hood, mask, gloves and shoe covers. Glove liners go under the gloves where the grade calls for them.
- Use only gear that is free of contaminants before it goes on. A dusty or previously worn gown defeats the purpose.
- Gear is there to block what skin and street clothes shed, so a gap at the wrist or ankle undoes the rest.
3. Vacuum High to Low
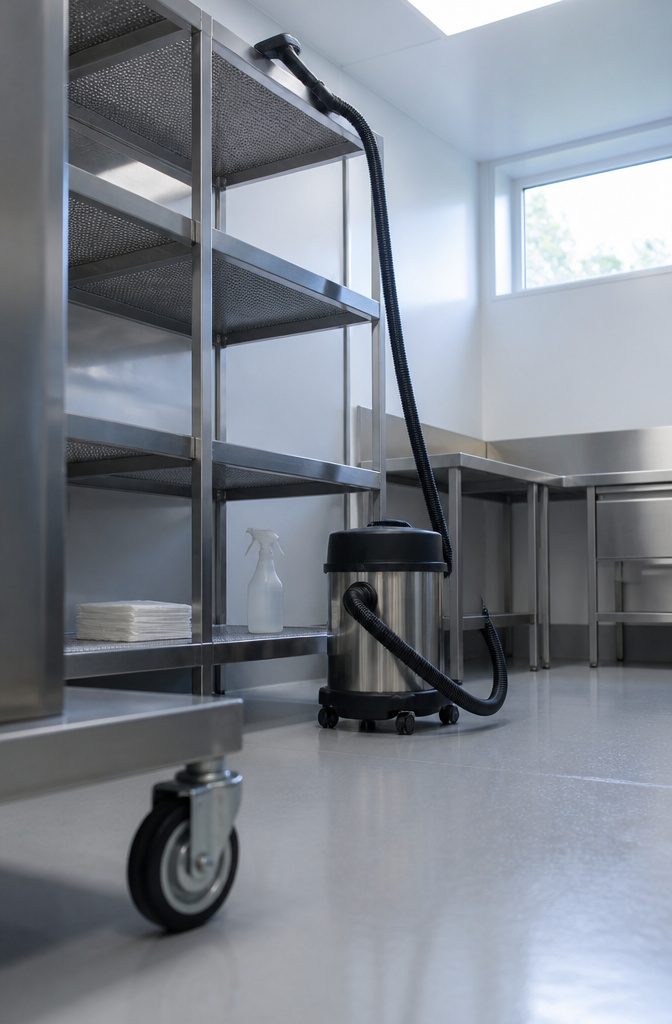
Pick up visible debris by hand or with a gloved scoop before the vacuum comes out, because loose bits clog hoses and scatter when a nozzle drags across them.
Then vacuum from the highest points down: ceilings, tops of equipment and shelving, then walls and work surfaces. Dust that falls mid-job lands on surfaces you haven’t reached yet, so working low to high just redistributes it.
Use a HEPA-filtered vacuum. A standard shop vac can pull fine particles in one end and blow them back out the exhaust.
Wiping comes second.
Walls, counters and equipment surfaces get an approved cleaner or disinfectant on a lint-free wipe, pulled in one direction rather than scrubbed back and forth. If the cleaner leaves a film, a presaturated IPA wipe lifts the residue.
4. Clean Equipment and Tools
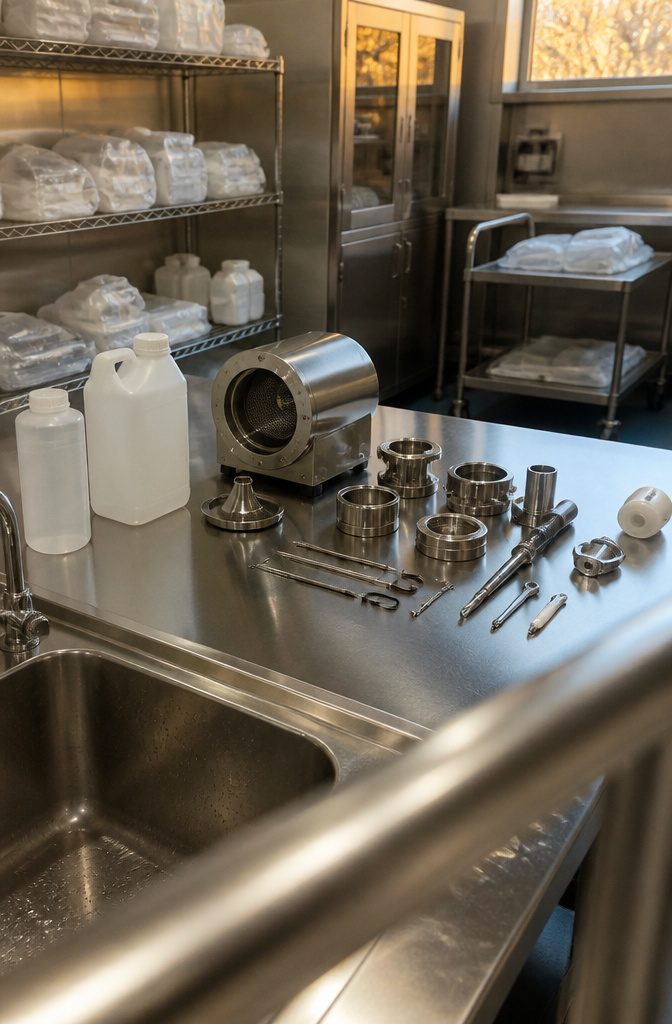
Take equipment apart wherever it comes apart. Surfaces hidden inside an assembled unit stay dirty, so remove only what the maker says can be removed and leave the rest alone.
The manufacturer’s instructions set the cleaner, the disinfectant and the contact time, so read them before you pick a product, not after.
Clean first, then disinfect, working through each component and each hand tool.
Disinfectant applied over visible residue is mostly wasted. Once everything is dry, reassemble and inspect: parts seated, nothing cracked or worn, no film left behind.
Some procedures treat this as its own task, and others tuck it into the main cleaning stage. I keep it separate, because equipment gets rushed when it rides along with the floors and walls.
5. Mop Floors to the Exit
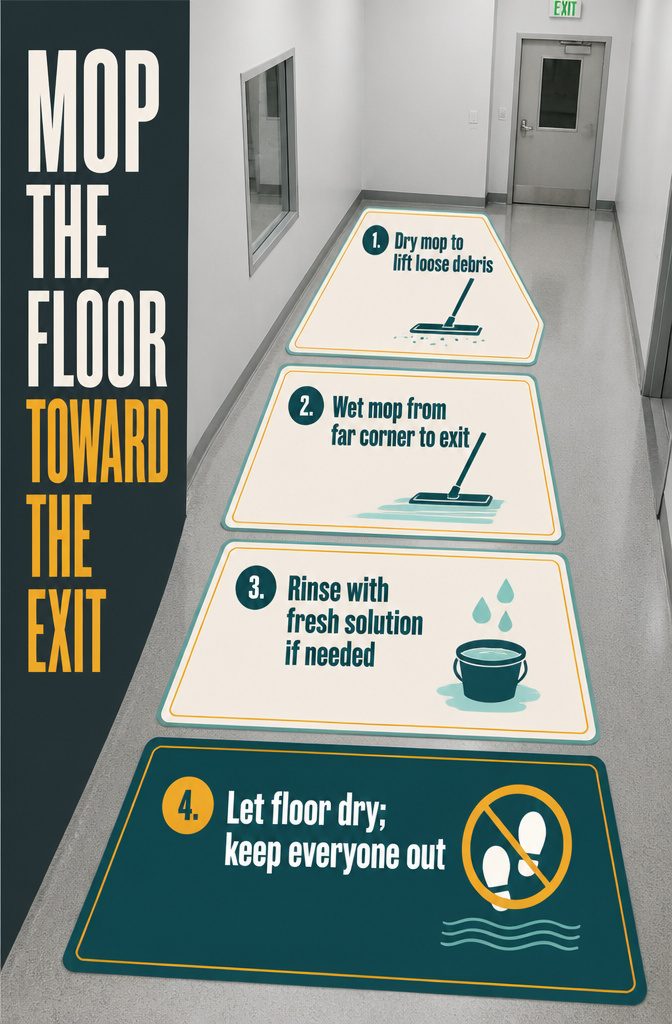
- Dry mop the whole floor to lift loose dirt and debris before any liquid goes down.
- Start the wet mop in the corner farthest from the exit and work back toward the door, so you never step on a section you just cleaned.
- Rinse with fresh solution if the floor calls for it. Dirty mop water spreads particles around instead of removing them.
- Let the floor dry completely, and keep everyone out until it has. A damp floor gets tracked on the first pair of shoes.
The shorter version is to vacuum, then mop with a disinfectant solution. I’d use it for a small room with light traffic, since the vacuum covers the same loose-debris job as the dry mop.
6. Inspect and Restock
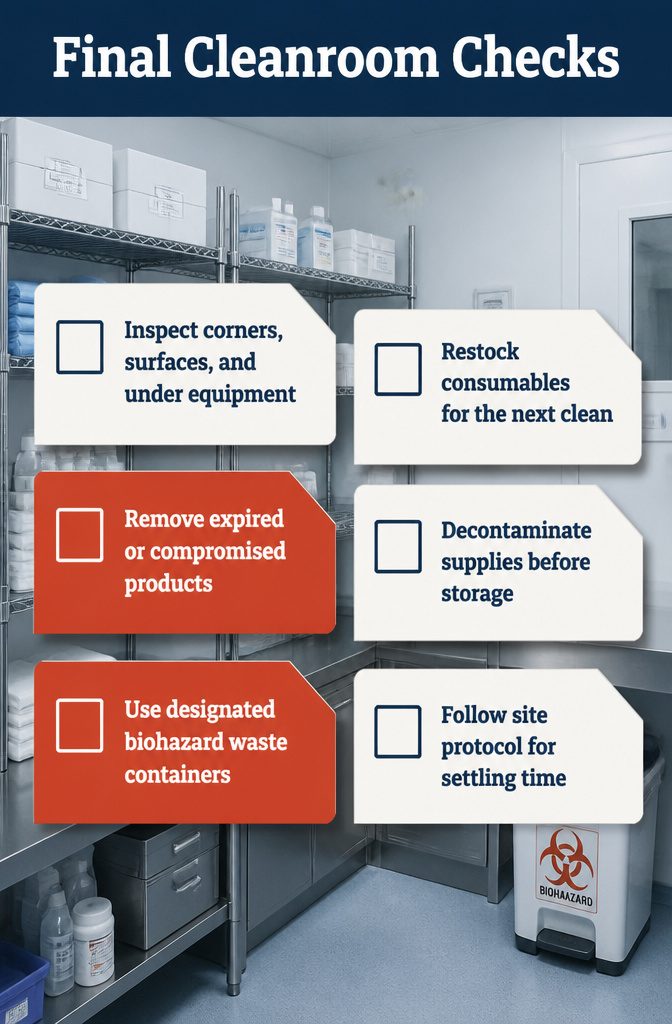
The final pass before you leave the room has six checks:
- Look over surfaces, corners and the spots under equipment for missed areas or visible residue. Re-wipe anything that shows it.
- Restock consumables so the next cleaning starts with full supplies, not a scramble.
- Check expiry dates on every product you touch. Pull anything expired, plus anything with torn, open or otherwise compromised packaging.
- Decontaminate cleaning supplies before they go back to storage, or you carry contaminants straight into the next cycle.
- Put cleaning waste in designated biohazard containers, not the regular trash.
- Allow settling time only if your cleanroom requires it. If it does, follow your site’s protocol for the wait.
7. Schedules and Special Cases
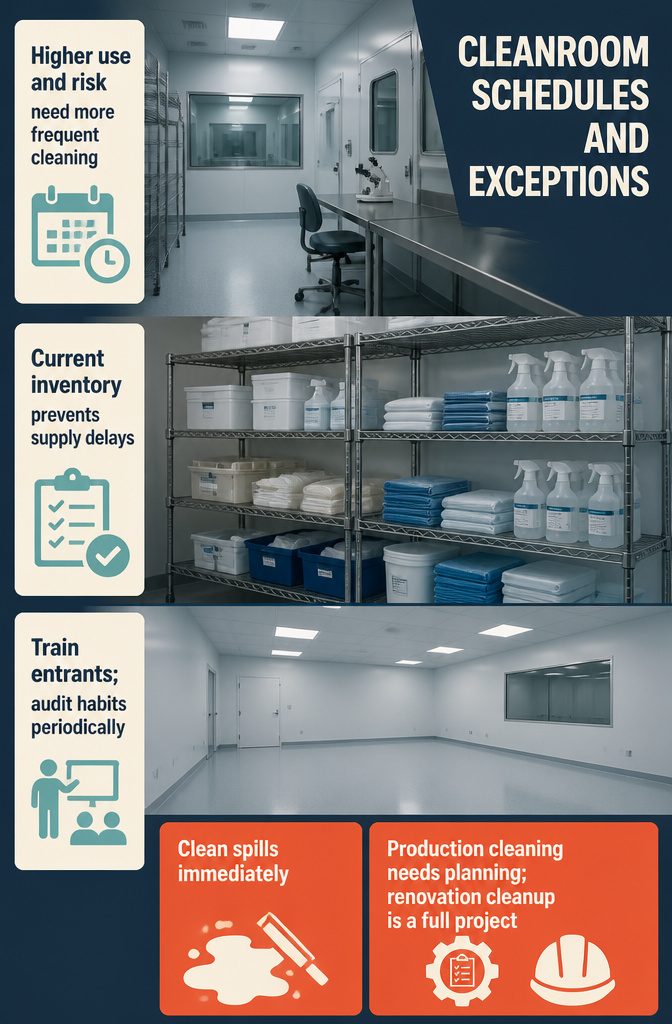
A single routine clean covers the seven steps in order, but the work around it runs on a longer clock.
Set cleaning frequency by how heavily the room is used and how much contamination risk the work carries, so a busy, high-risk room gets cleaned more often than a quiet one.
Keep inventory counts current so a missing supply never stalls a cleaning day. Training should continue for everyone who enters, and periodic audits catch habits that have drifted.
Three situations fall outside any routine.
After a spill or accident, clean it up immediately, because contaminants spread the longer they sit. Cleaning during production is sometimes needed to stop buildup, and it takes planning so the work isn’t disrupted.
After a renovation, I’d treat the cleanup as its own full project, since construction dust and debris have to be removed before the room’s conditions are restored.
Approved Supplies List
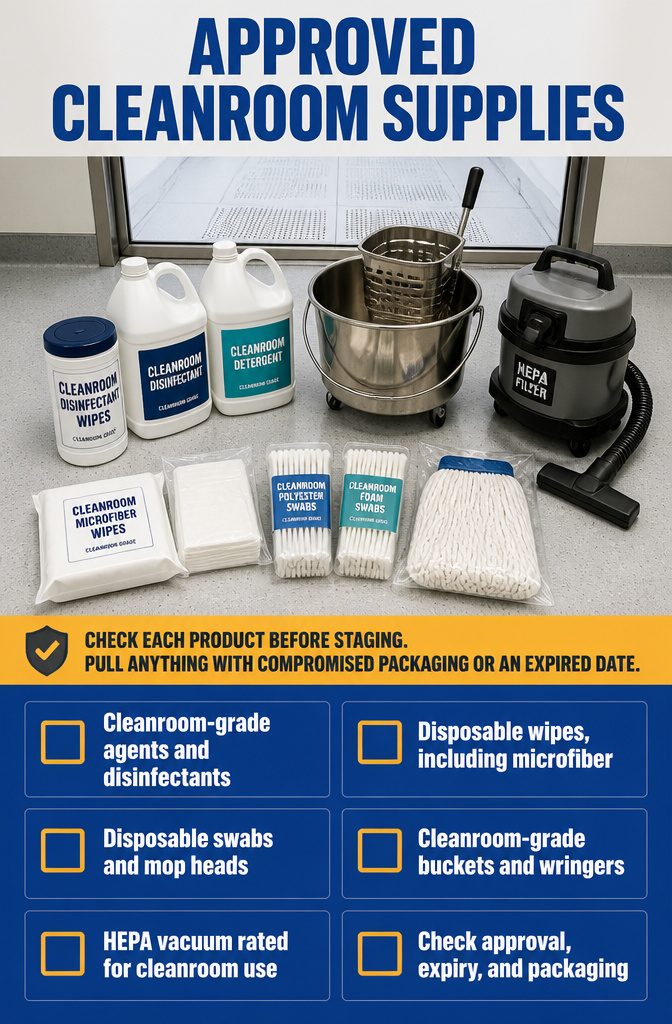
Every item that enters a cleanroom has to be approved for that environment before it crosses the threshold. Gather these cleanroom-certified supplies outside the room and stage them at the entrance before you start:
- Cleanroom-grade cleaning agents and disinfectants
- Disposable wipes, including microfiber cloths
- Disposable swabs
- Disposable mop heads
- Buckets and wringers, cleanroom-grade stainless steel if possible
- HEPA-filtered vacuum cleaners rated for cleanroom use
"Cleanroom-certified" is not a loose label here.
Standard household or janitorial products shed particles and introduce contaminants on their own, which defeats the point entirely. Check each product before staging it, and pull anything with compromised packaging or an expired date.
Cleanest Areas First
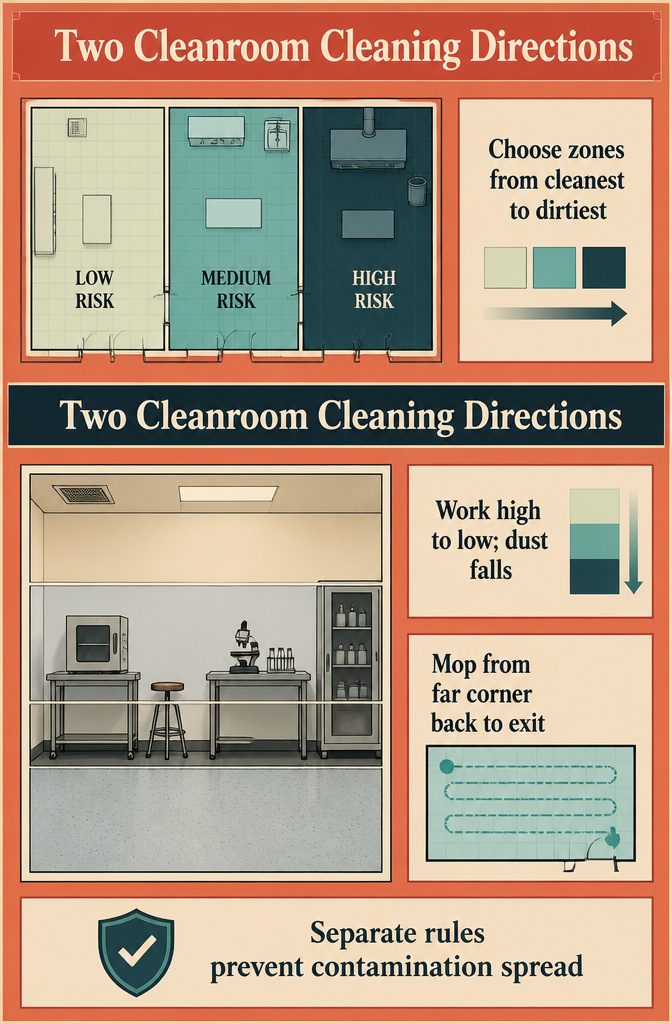
Cleanroom cleaning runs on two direction rules, and they answer different questions.
Cleanest-to-dirtiest picks the zone: start where contamination risk is lowest and finish in the areas most likely to carry it, so residue never gets dragged into a spot you’ve already done.
High-to-low sets the motion inside a zone. Work from the highest point down, because dust falls, and mop wet floors from the farthest corner back toward the exit so you never walk across a finished surface.
I keep them as two rules rather than one protocol, since one rule can’t tell you both where to start and which way to move.
Choose the zone by cleanliness, then work high to low and corner to exit inside it. Both exist to stop contamination from spreading.
Documentation Log
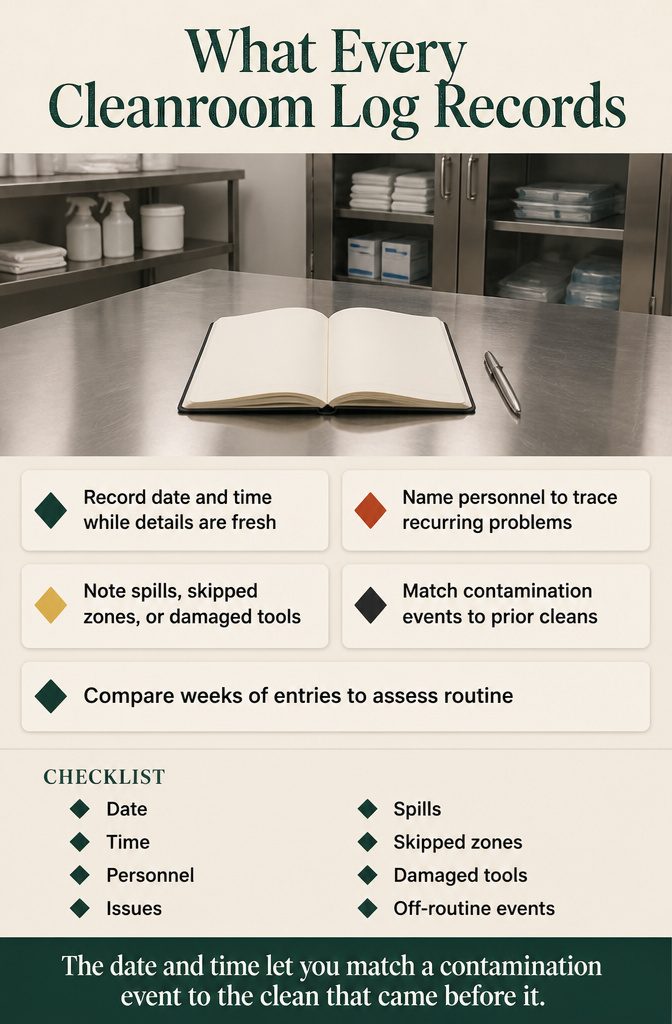
Write the log entry before you leave the room.
A clean that isn’t recorded can’t be checked later. Each entry needs four things:
- Date, time, personnel and any issues go on every entry, filled in while the details are fresh.
- The date and time let you match a contamination event to the clean that came before it.
- Names matter because a recurring problem can be traced to a shift or a technique instead of guessed at.
- Issues mean anything that went off-routine, such as a spill, a skipped zone or a damaged tool.
- Reading entries side by side over weeks shows whether the routine is working, which a single day’s record can’t.
Where one stray particle can hurt product quality, patient safety or research outcomes, I treat an unlogged clean as an unfinished one.
Frequently Asked Questions
What are the steps for cleaning a clean room?
A routine clean takes 7 steps: check the site protocol and stage approved supplies, gown up, vacuum from high to low, wipe surfaces, clean and disinfect equipment, mop from the farthest corner back to the exit, then inspect and restock.
Your facility’s written protocol overrules any general list, because the steps shift with the cleanroom’s class. Record the clean in the log before you leave the room.
Why is clean room cleaning important?
It removes the contaminants that build up in the room and keeps new ones from coming in during the cleaning itself.
Where a single stray particle can damage product quality, patient safety or research outcomes, a skipped or sloppy clean puts all three at risk. That is why only trained staff using cleanroom-approved supplies should do the work.