I built my first wood plant stand using simple dowel joinery and a drill press, and I’ve refined the process into six straightforward steps that anyone can follow.
Start by measuring your planter and cutting poplar boards to size, then drill 7/8″ holes for dowel joinery.
Cut four dowels to 11.5″ and sand them smooth.
Assemble the legs and base with glue and clamps, ensuring everything fits snugly.
Finish with stain and outdoor sealant for protection.
You can easily adjust the height or add extra tiers by extending the posts proportionally.
I’ll walk you through each step in detail.
[link-whisper-related-posts]Gather Materials and Plan Your Plant Stand Dimensions
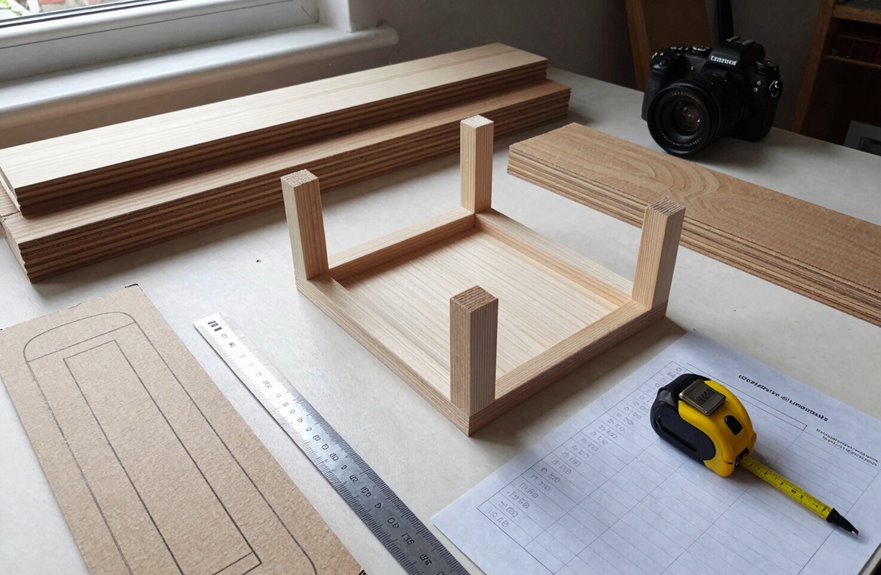
Where do you begin when building something meant to last? Start with dimensions planning by measuring your concrete planter so your wood plant stand fits perfectly. Grab poplar boards and cut two equal lengths, clamping them together to mark a shared center point for precise alignment. Instead of pocket hole screws, use dowel joinery for cleaner lines and stronger connections. Mark 3/8″ on each side of center and set your notch depth to 3/4″, creating perfect 3/4″ by 3/4″ notches that match your board thickness. With your 7/8″ Forstner bit ready and dowels cut to 11.5″ using a stop block, you’ll build a plant stand that provides reliable support for years.
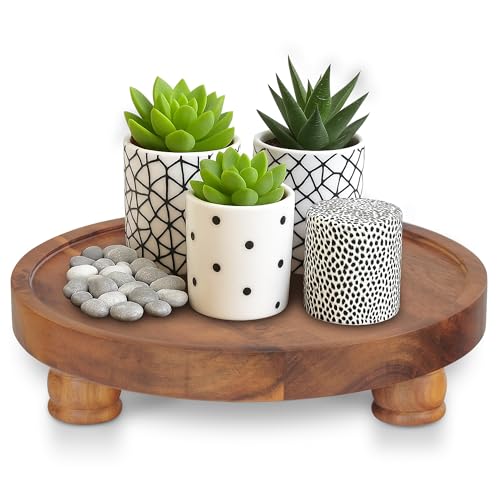
Suitable for Many Purposes: This pedestal stand has dimensions of 10” diameter and 2.5” H, with its natural wood color complementing almost any home decor. Please measure...
Cut Cross-Beams and Drill Dowel Holes
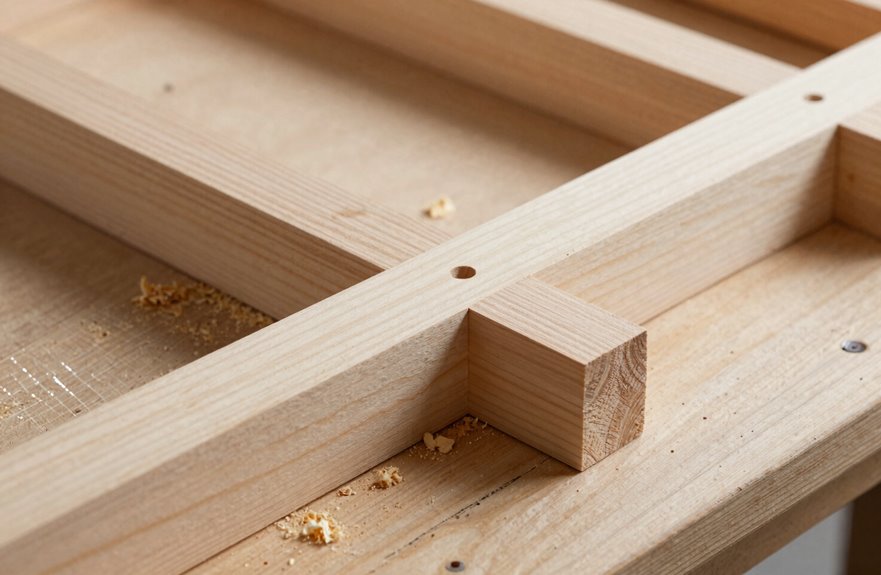
Once I’ve planned my dimensions, I move straight into cutting the cross-beams that’ll hold everything together. I set my miter saw with a stop block and cut four dowels to exactly 11.5 inches each. Two will sit five inches above my planter, two below, with that 1.5-inch width built right in. I sand the edges smooth so they’re rounded and comfortable to the touch.
For the dowel joints, I dry-fit everything first, checking alignment to ensure proper fit. Then I mark my lines and use the drill press with a 7/8-inch Forstner bit to drill holes that match my dowel size perfectly. I also notch the supports 3/4 by 3/4 so they’ll hug those rounded connections tight. The plant stand comes together with all components properly aligned and secured.

Drills flat-bottomed and pocket holes in significantly less time than traditional Forstner bits

Specs: Diameter 7/8", Length 3-1/2", Rotation RH, Shank 3/8"

High Quality: Forstner Drill Bit made of Tungsten carbide with special heat treatment for sharp cutting edge, high hardness, non-burrs and durable use. Cutting Diameter: 7/8 Inch / 22mm, Total Length: 3.11 Inch / 79mm, Round Shank Diameter: 0.28 Inch / 7mm.
Cut and Sand Dowels to Final Length
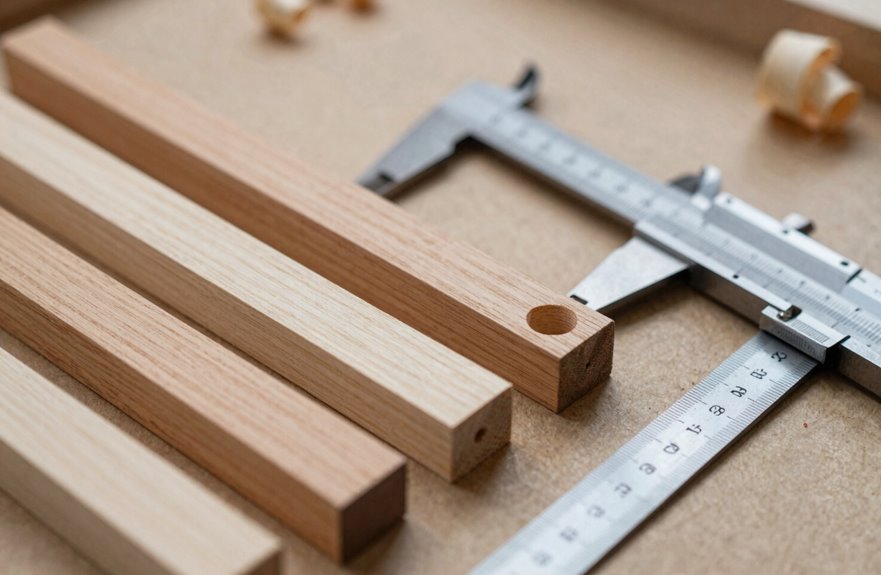
How do I guarantee every dowel matches perfectly? I set up my miter saw with a stop block before cutting any material. This jig ensures all four dowels reach exactly 11.5 inches (five inches extending above the planter, five below, plus 1.5 inches for the cross-beam width). I make one cut, slide the next piece against the block, and repeat. No measuring twice, no variation.
Once I’ve finished cutting, I grab my sandpaper. Sanding those fresh edges is essential. I round each end slightly so they’ll seat cleanly into the holes we drilled earlier. Clean, square ends with softened edges ensure proper fit when dry-fitting everything together. This prep work prevents gaps and misalignment during assembly.

【Aircraft Grade Aluminium Alloy and Laser Engraving】The overall body is made from aircraft grade aluminium alloy and the dimensional scales are laser etched for high quality and accurate positioning.

FLEXIBLE ADJUSTMENT: Our wood dowel jig can clamp a wide range of wood blocks from 0.4 to 2 inches, either round or square. Takes the hassle out of limited jig options and gives you more room for diy woodworking creations

Quickly and accurately dowel corner, edge, and surface joints
Assemble Legs and Base With Dowels and Glue
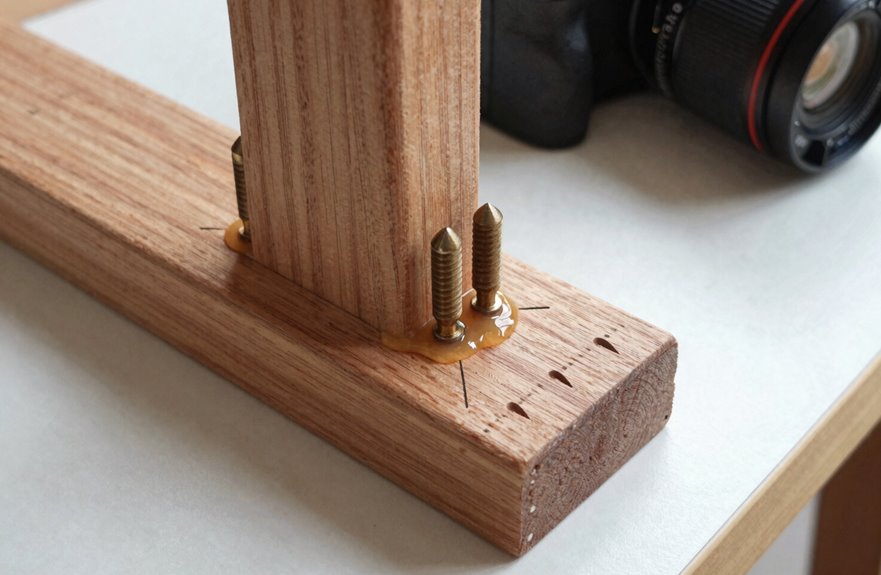
With the dowels cut to identical length and their ends smoothed, I’m ready to bring the legs and base together. I’ve drilled pocket holes on the base pieces to secure the legs firmly, creating a reliable foundation for our plant stand. Using my drill press, I bore precise 1/4-inch holes for the dowels, then notch the leg tops with a 7/8-inch Forstner bit so everything mates perfectly.
Before committing, I dry-fit the assembly with dowels to check alignment. No gaps appear, and no surprises emerge. Once satisfied, I apply glue generously to the dowel holes and joints, then slide everything together. I clamp the base pieces tight, wiping excess glue immediately. The solid frame construction ensures the plant stand will remain structurally sound for years.
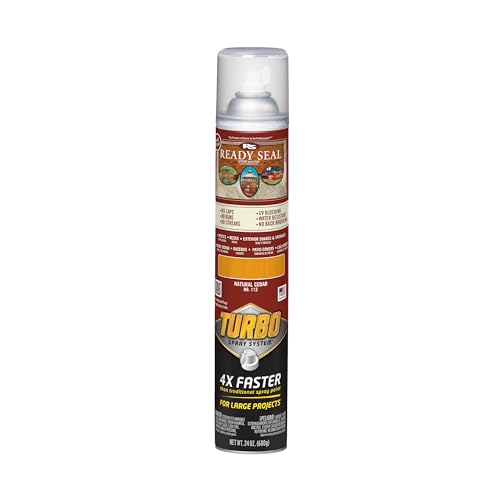
NO LAPS, RUNS OR STREAKS: Goof Proof, oil-based formula now equipped with the powerful Turbo Spray System; ideal for exterior wood projects

MARINE SEALANT: Our liquid formula creates a UV-stable coating for protection against the elements, saltwater spray, and water damage. Marine is a protector for outdoor furniture, thermally modified wood, and boat docks. Marine is safe for use over open water and is non-hazardous to aquatic life. ** This product is NOT intended for hardwoods such as ipe, mahogany and teak. NOT intended for wood submerged under water or on wooden boats **

NO LAPS, RUNS OR STREAKS: Goof Proof, oil-based formula now equipped with the powerful Turbo Spray System; ideal for exterior wood projects
Apply Stain and Outdoor Finish
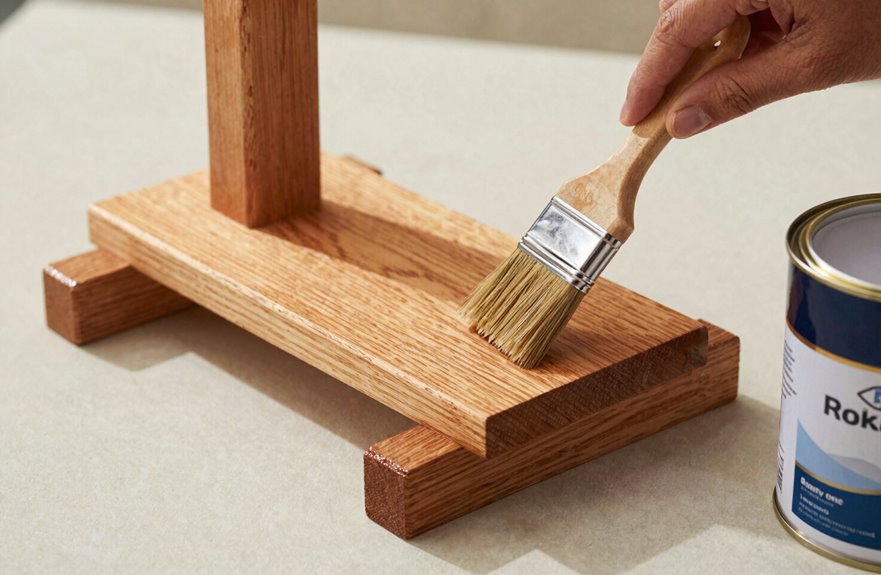
Why rush the final step when it’s what everyone will notice. I sand every edge smooth before reaching for my Early American stain, that rich, West Elm-inspired tone that transforms ordinary pine into something worth showing off.
I apply the stain after assembly, working it deep into the grain where it’ll matter most. Since I’m building for Southern California’s sun and occasional rain, I don’t stop there. I seal everything with a quality wood sealant built for outdoor use, creating weatherproofing that protects against UV damage and moisture penetration to keep this stand looking sharp season after season.
Your finish choice balances beauty with protection. That protective coat isn’t optional. It’s the difference between wood that degrades within a few seasons and wood that maintains its appearance and structural integrity for years. When neighbors ask how yours still looks fresh after several years of weather exposure, you’ll know the quality sealant is doing its job.

【Adjustable Bamboo Plant Stand】Our indoor Bamboo plant stand is adjustable from 8 to 12 inches in width, Upside down adjustable height plant stand; It fits pots in size of 8 9 10 11 12 inches; giving your plant 2 height options as the plant grows. Its versatile design fits a variety of pots, vases

HIGH QUALITY MATERIAL: Wood dowel pins are cut from hardwood high density. The wooden pins are kiln dried birch wood with flutes which eliminate trapped air for superior fastening.
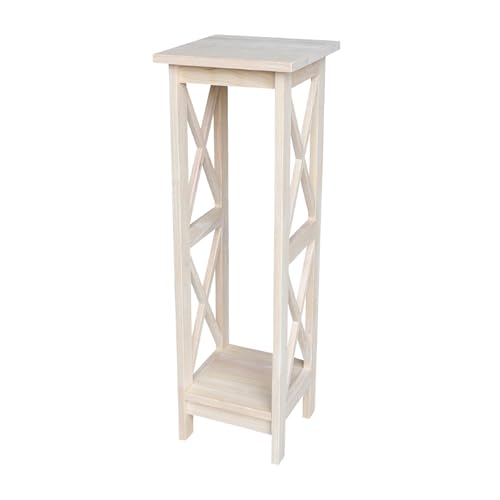
Made from solid hardwood
Adjust Height and Add Tiers for Custom Builds
I’ll show you how to adjust the stand’s height and add extra tiers by branching off tier posts with additional supports. You can scale the base two-tier design upward while keeping the 16 3/4″ depth and width, and you can use 22 customizable pieces per tier to tailor top dimensions for different pot sizes. Stability depends on consistent spacing and secure connections using dowels, pocket holes, and glue as you build upward.

Modern&Elegant Style Design: Well fits to most home decor and furniture, goes with a variety of plants and flowers on vases or plant pots, modern and stylish design adds a touch of class to any rooms, tables, office desks. NOTE: Pot and Plant are not included.
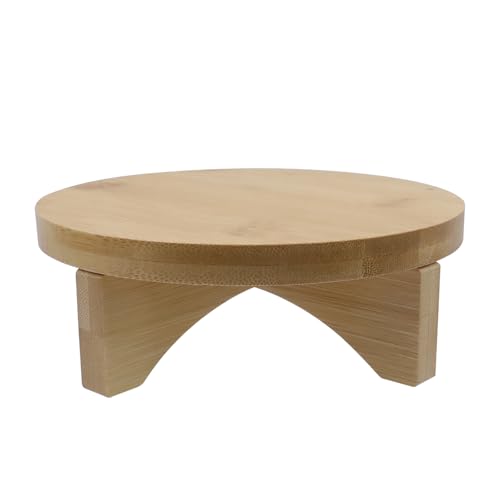
Quality Material: Made of premium solid wood, finely polished, with a smooth surface and no burs, very sturdy and has a long lasting

Size: 4.35"L x 4.35"W x 0.4"H, you will receive 8 Pcs rack stand, can meet your daily use
Adjusting Stand Height
Tier-by-tier customization lets you reshape a basic plant stand into exactly the vertical space you need, whether housing a single statement fern or building a towering display for dozens of pots. When adjusting height on a tiered stand, extend the posts proportionally and widen the base to protect stability against tipping. Plan rail spacing carefully, about 1/4 inch between slats, so each level stays even and secure. Re-proportion dowels, pocket holes, and notches to match the new total height, keeping every joint flush and strong. For outdoor builds, choose exterior-grade lumber and weather-ready finishes to prevent warping. Stands that reach higher without wobbling require proportional engineering and quality construction methods.
Adding Extra Tiers
How do you know when three tiers simply aren’t cutting it? When your collection grows and you’re running out of room, it’s time to expand. I branch off one tier post to create extra tiers, adding 22 pieces and tops as my space demands.
I keep my wood plant stand’s integrity intact by matching tier post diameters and mirroring original construction: flush X braces, quarter-inch spacing, consistent connections. The scalability here means you’re never locked in; we adapt tops from scrap 28 pieces, ¾ plywood, or 2x6s to 2x10s.
You’re part of a community that builds beyond the basics. Adjust tier counts, customize heights, and welcome fellow plant lovers into spaces we’ve crafted. Our stands grow exactly as you do.