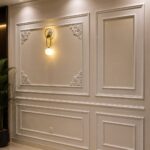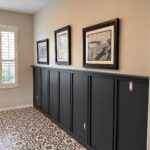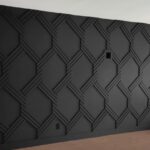

Box moulding walls can start as a weekend rental hack with 1×2 inch boards or stretch into full two-tier wainscoting that doubles your cutting and caulk time.
The right layout depends on whether your wall needs to carry art, fill a narrow hallway, or hold its own lines in an open room.
[link-whisper-related-posts]1. Detailed Drawing of Moulding Layout
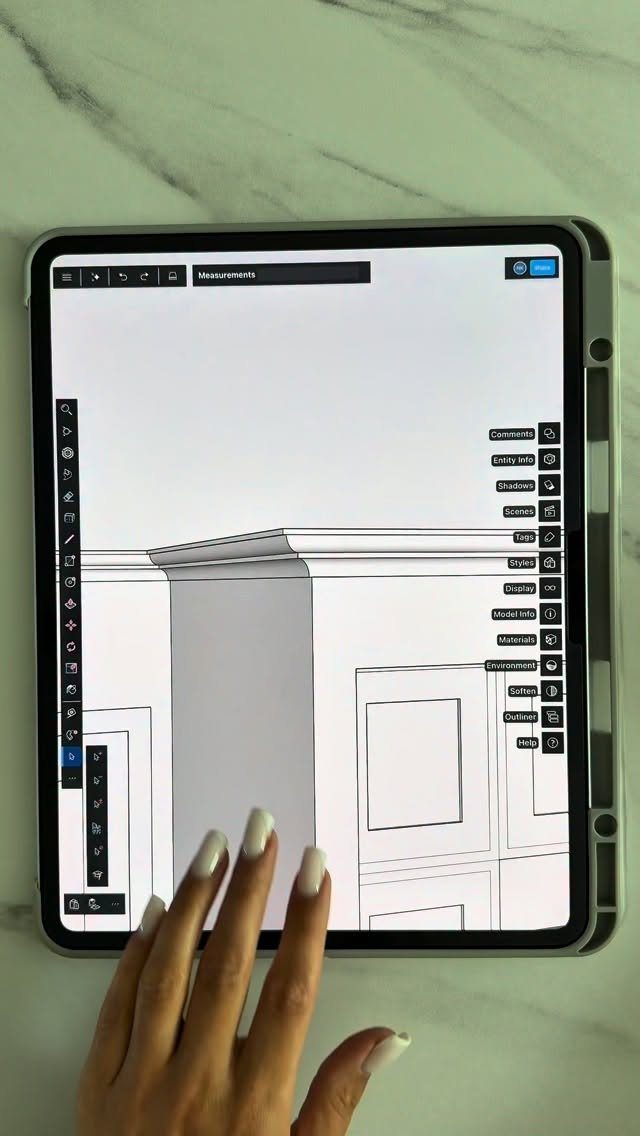
A drawn plan on paper beats software for most box moulding jobs, because you carry the sheet to the wall and mark directly against it.
Start by measuring the full wall height and width, then sketch each box in place with the furniture you already own sketched beside it.
The ceiling line, baseboard, and any windows or doors become fixed borders that your boxes must respect; draw them first so your rectangles do not drift into awkward partial shapes at the edges.
I check my marks with a long level against the paper before transferring anything to the wall, because a slanted box reads as a mistake even when it is barely off.

What You Will Receive: you will receive 3 sets of pre cut wall decorations, each set has 10 pcs, total 30 pcs, which can be freely matched according to your needs, they attaches easily and gives doors or walls elegant finished look

Wall Molding Kit: The package includes 24 pcs wall molding (24in-14 pcs, 54in-6 pcs, 48in-4 pcs), which can be combined into 6 frames, allowing you to easily create a stylish accent wall. The 6-frame layout shown is designed for a wall measuring approximately 10 feet high by 11 feet wide. Please measure your wall and plan the layout before installation.
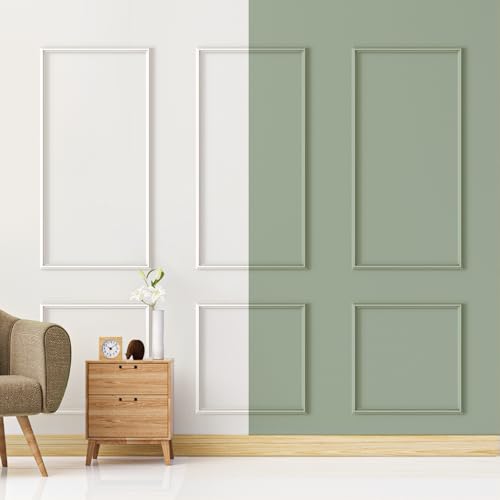
[Transformative Interior Decoration]: Our pre-made wall moulding kit effortlessly adds depth and character to your wall, blending contemporary minimalism with classic design. Elevate your interior wall with timeless elegance
2. Cut Moulding with Miter Saw
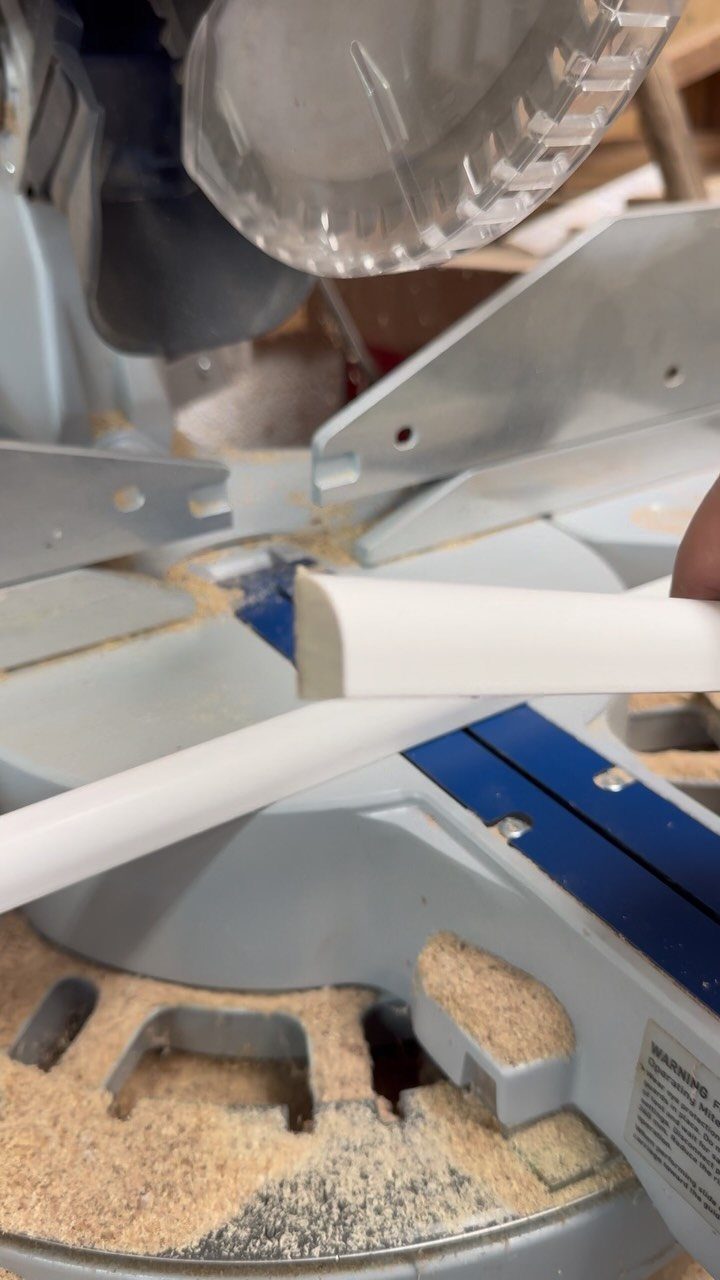
Clean 45-degree corners need a miter saw, not a coping saw, for box moulding this small. The cut itself is simple; keeping the cut square against the fence is where work goes wrong.
One builder I follow swaps in a fresh sacrificial fence of 3/4-inch scrap plywood before starting, which gives the moulding something flat and clean to sit against instead of the factory fence with its sawdust grooves and rounded edges.
A fresh blade matters too, because painted MDF fuzzes at the cut line and that fuzz becomes a visible gap once nailed.
Cut one box’s worth, dry-fit it to your wall marks, then cut the next; batch cutting feels efficient until one wall measurement is slightly off and the whole stack is wrong.

Premade Board and Batten Paintable Wainscoting Kit: Package includes 20 premade molding trim slats, 4 decorative edge strips, and two pairs of gloves for convenient installation

Pre-Cut Arch Wainscoting Panel Board:A complete set of 4 pre cut arched wall decorative strips, each set containing 9 components: one arched component and 8 vertical strips, totaling 36 components; These 9mm thick panels can be easily connected, adding a delicate touch to doors or walls

MDF Material for Lasting Use: this board and batten wall panel kit is made from MDF, offering sturdiness and water resistance; The surface is smooth, providing a comfortable touch for interior wall applications
3. Design Box Sizes
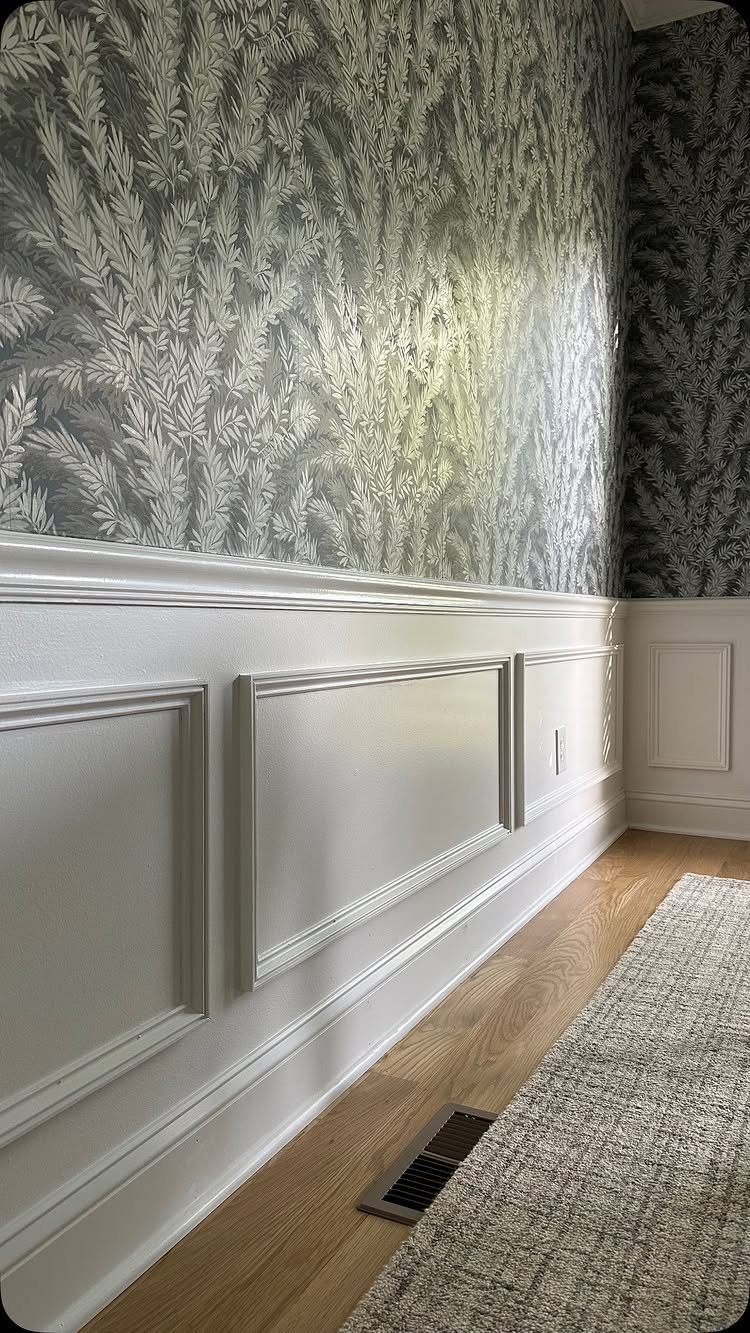
Box size should settle around what sits in front of it.
A low console table with tall lamps wants wide, low rectangles; a bare hallway wall above a chair rail can carry taller, narrower boxes that read as panels rather than frames.
I measure the furniture first, then set my box width to something that looks deliberate against it, usually leaving more wall space above the box than below if the piece is low.

[ESSENTIAL QUARTER ROUND CUTTING TOOL] The Warmtree miter shears are expertly designed for fast, clean, and professional cuts. Perfect for cutting quarter round, PVC trunking, chamfer, weather stripping, and softwoods (like Pine). It also functions efficiently as a light-duty pipe cutter for your home improvement and DIY projects. (Note: Max cutting thickness is 0.4 inches; not suitable for hardwood or metal).

[Professional Material] --Premium stainless steel blades are Strong and durable. Clear and precise scale surface to help you cut accurately and quite easy and fast.

【 Cutting in Accurate 3 Angle Use 】for accurate miters, features slots for three 45°, 90°, and 135 ° cutting angles. The maximum thickness of blade is 2 mm (0.08 inch)
4. Smaller Spaces Between Boxes
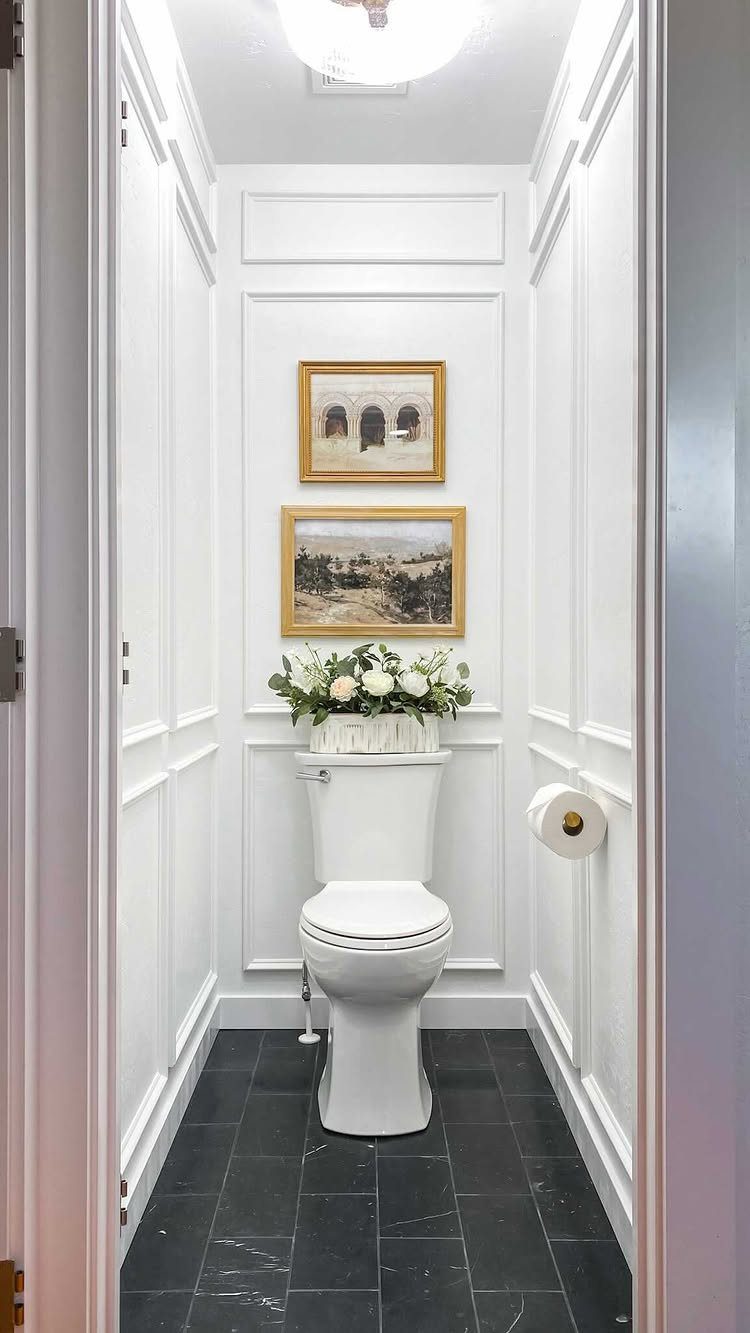
Tight spacing between boxes, about 3 inches left to right, reads as one continuous texture rather than isolated frames.
In a powder room this small, that cohesion matters more than it would on a long hallway wall where your eye has room to rest between boxes.
The dark floor tile here helps too; it anchors the room so the white boxes can crowd without feeling busy.
I would not push the boxes closer together unless the wall is narrow, because the individual boxes need enough shadow line to register as separate shapes.
For taller walls, keep the vertical gap between stacked boxes closer to the horizontal one, or the rhythm breaks.

Gap-Lines Disappear Fast: Fill floor gaps, dark seams, narrow joints, and exposed edges on wood floors. Fill, smooth, and turn unsightly floor lines into a seamless finish for homeowners, renters, and DIY floor touch-ups.

Innovative Right-Angle Design: Our thin shoe molding features a unique right-angle profile, offers 90° edge coverage with a wider contact surface, and is firm enough not to come off easily. It offers an invisible finish that seamlessly blends with cabinets, countertops, ceilings, floors, and skirting boards.

HIGH-QUALITY SEALANT: Our non-sag polyurethane concrete sealant cures by reacting with air humidity to form a highly elastic expansion joint material. You can use it for jobsites in different locations as this concrete caulk has a very wide service temperature range: -22°F to 175°F.
5. Sage Green Rectangular Panel Layout
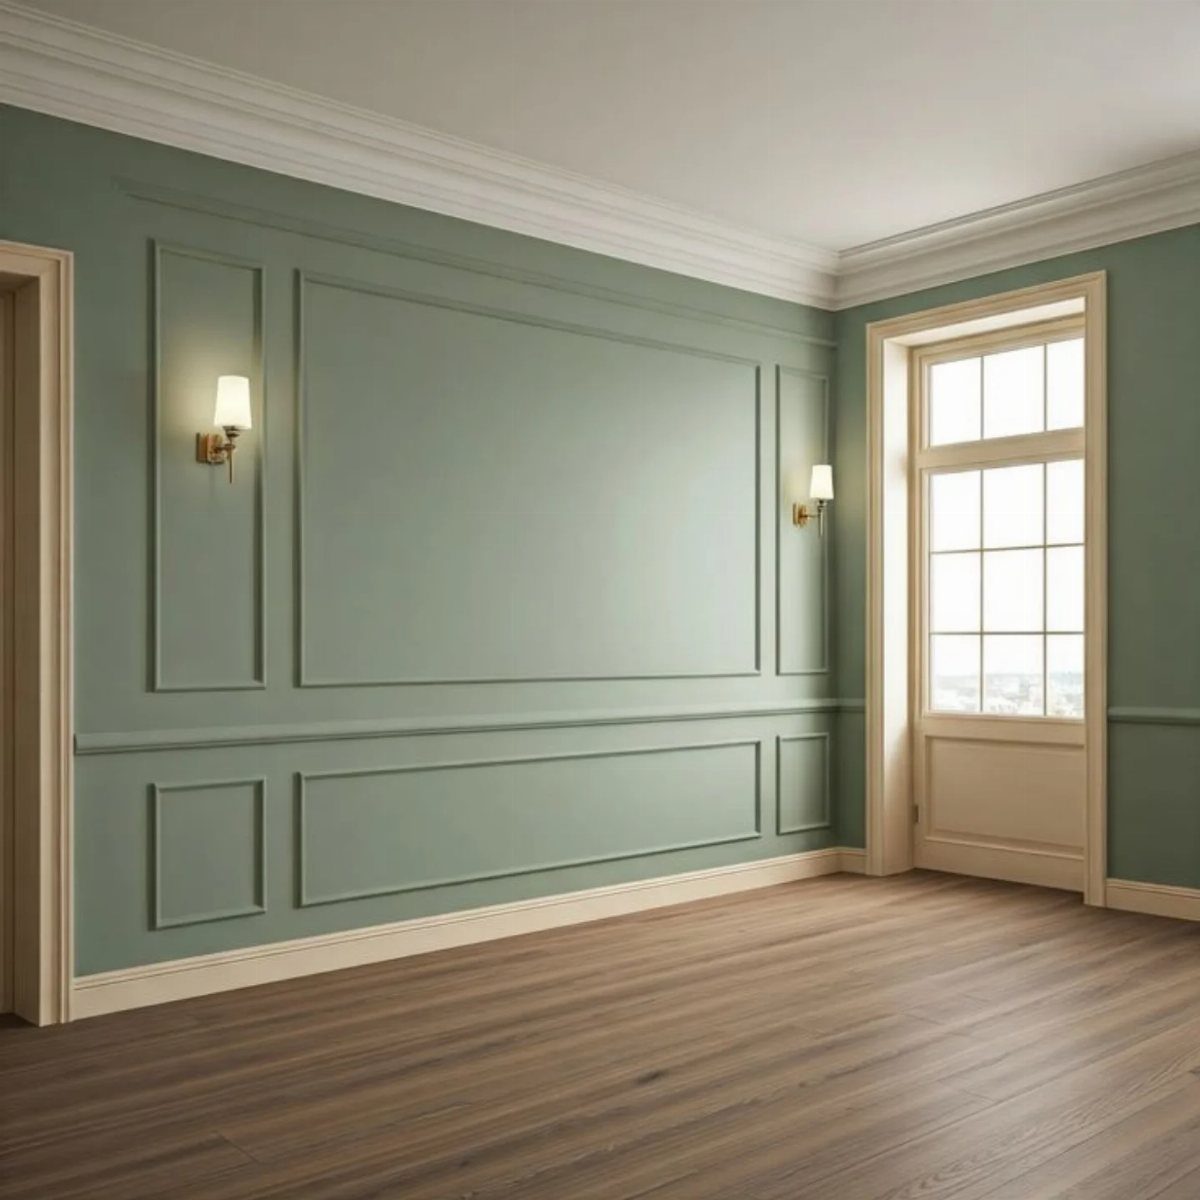
Sage green changes how the moulding reads: the color is quiet enough that the boxes become architecture instead of decoration, which suits a room you want to feel settled rather than styled.
The chair rail divides the wall into two zones, and the panel sizes shift with it; larger rectangles below, smaller flanking boxes above, so the weight sits low where furniture already grounds it.
Wall sconces between the upper boxes need their mounting boxes planned before the moulding goes up, because cutting into finished trim for wiring leaves a repair that never quite hides.
I would test the green with a sample board leaned against the wall for a full day; sage shifts dramatically with eastern versus western light.

Allows for manual measurements collection with caliper-level precision

DURABLE LEVEL: Boasting a heavy-duty Structo-Cast construction for unparalleled performance; the line level has a durable impact-resistant vial for optimum results effortlessly

·All-in-One Measuring Tool: This Adjustable Positioning Marking Protractor combines an angle finder, depth measuring ruler, spirit level and scribe tool for woodworking. Perfect for multi-angle measurement (15°-90°), leveling and fixed point marking.
6. Double Row Rectangular Panels
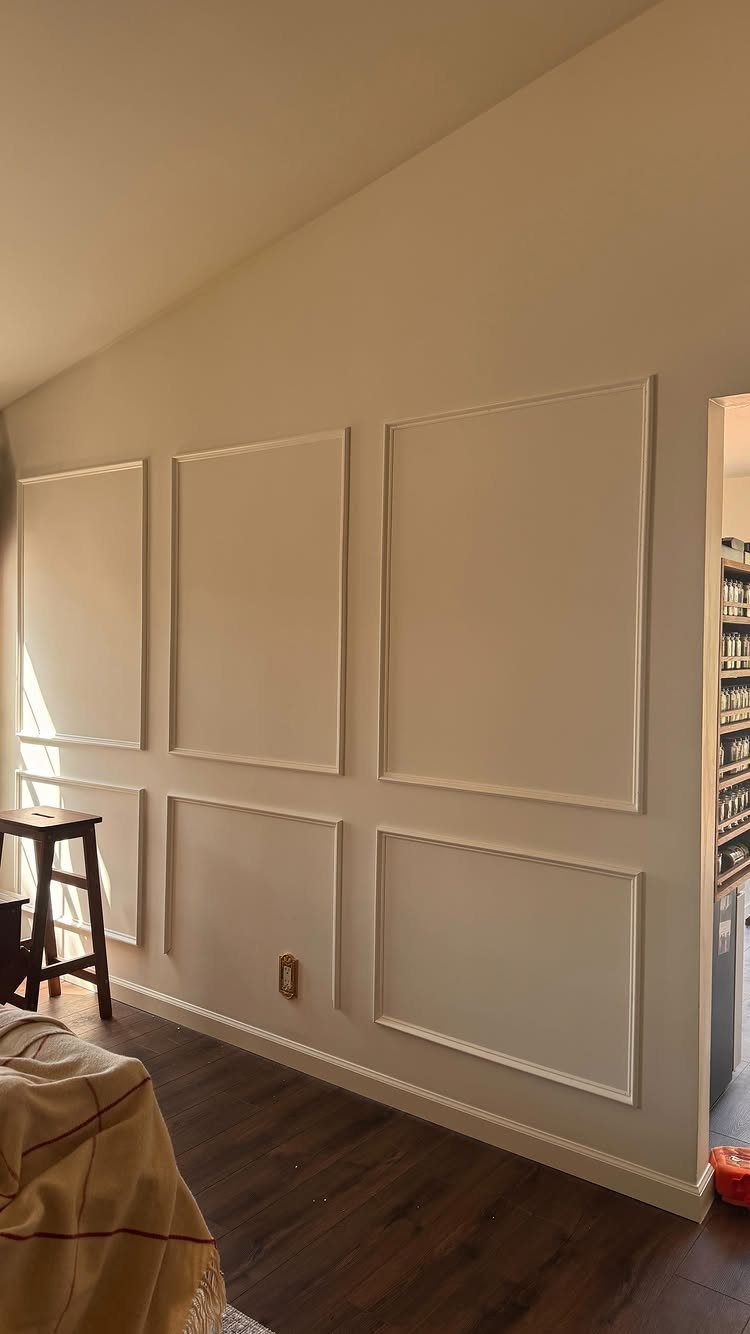
Two rows of boxes suit a wall tall enough to carry them without crowding, and the cream color here keeps the doubling from feeling heavy.
The lower row should relate to furniture height; the upper row needs its own center line, often aligned with a door header or window sill elsewhere in the room so the whole house feels designed by one hand.
Dark floors help this particular wall, because the contrast gives the boxes something to push against.
I would not add a third row unless the ceiling is vaulted; the goal is panels, not a grid that turns the wall into a fence.

Pre-cut Wall Molding Kit : Our wall moldings include 22 pieces of 24 inch decorative strips and 12 pieces of 30 inch decorative strips.Can be freely matched according to your needs,bringing an elegant finished appearance to doors or walls

What You Will Receive: you will receive 3 sets of pre cut wall decorations, each set has 10 pcs, total 30 pcs, which can be freely matched according to your needs, they attaches easily and gives doors or walls elegant finished look .

DIY Wall Panel Set: Wall molding kit includes 3 sets of pre-cut flexible wall decorations, each set has 8 pcs, total 24 pcs, can mix and match our different sizes to beautify your walls. Additionally, easily paint the trims in your favorite color(black,gold,blue,pink,green) to match any interior style-modern, farmhouse, vintage
7. Hallway Box Moulding with Art
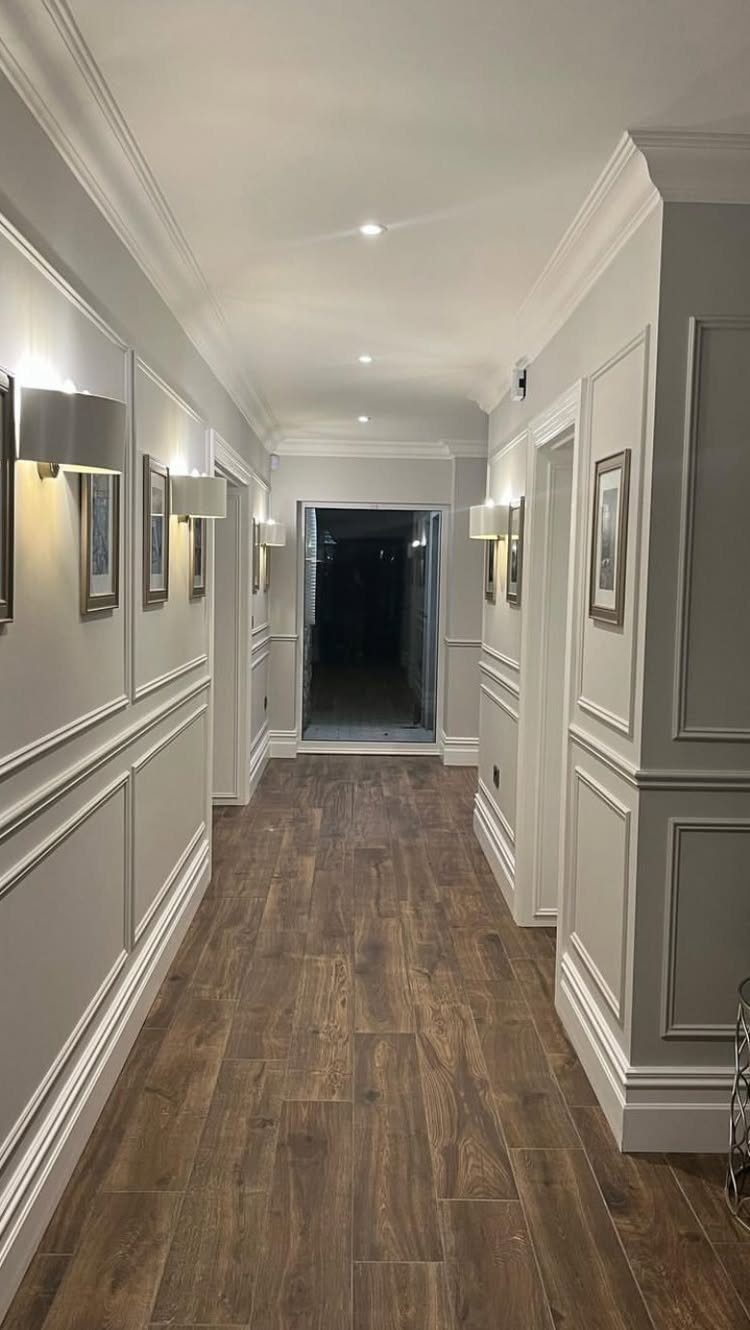
Hallways eat up wall space that most people leave bare because the narrow floor makes furniture impossible.
Box moulding gives that stretch of wall a job: each frame becomes a defined spot for a picture, so the art hangs where the architecture already said it should.
Frames sit dead center in their boxes, which means measuring the box first, then buying art to fit or matting what you have.
A sconce between boxes needs electrical rough-in before the moulding goes up; retrofitting one after means cutting into finished trim.
For renters or anyone nervous about plaster, shallow 1×2 inch boards painted to match the wall fake the same grid without the router table. Step back and the effect reads nearly the same.
Art changes. The moulding stays.

All-in-One Design - Package of 10 premade molding trim slat + 2 decorative edge strip create instant board & batten walls

All-in-one Molding Kit: This premade board and batten wainscoting kit includes 20 molding slats and 3 decorative edge strips for quick accent wall assembly. It is supplied to build classic board and batten wall designs
All-in-One Design - Package of 20 premade molding trim slat + 4 decorative edge strip create instant board & batten walls
8. Two-tier Upper and Lower Moulding
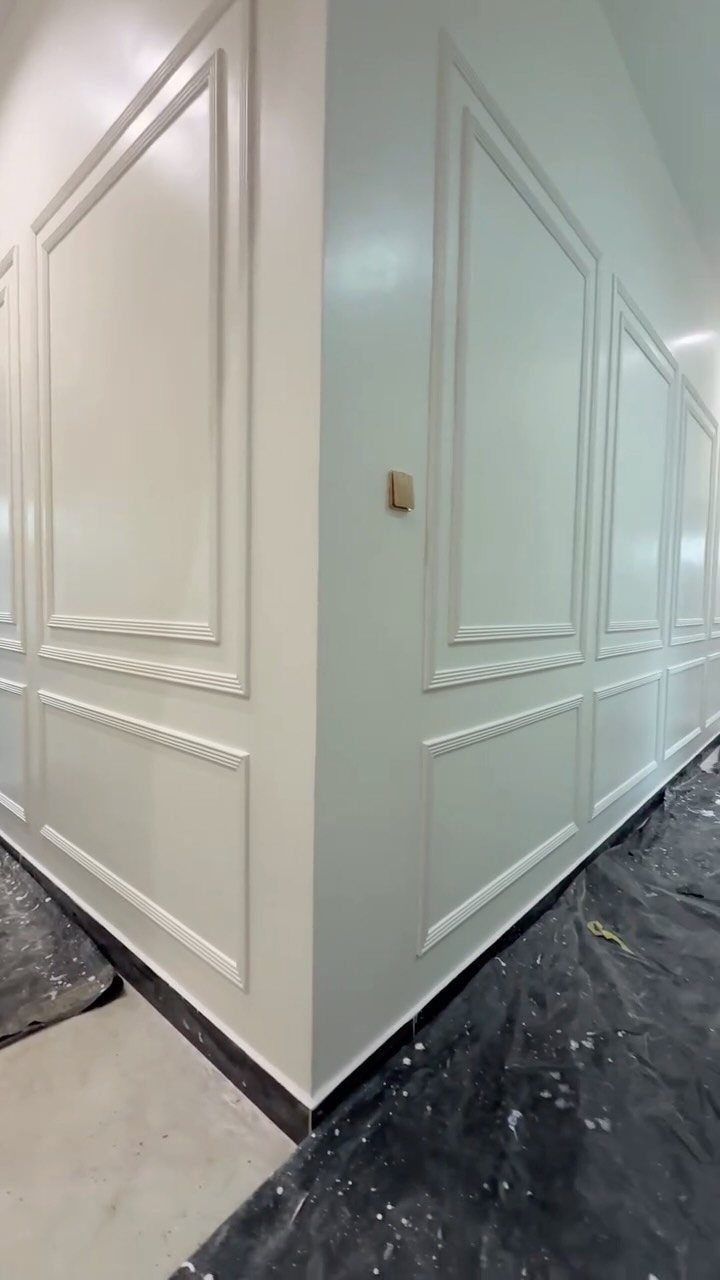
Splitting the wall into upper and lower registers, with a chair rail or plain band between them, borrows from old wainscoting without the raised panels.
Both tiers in the same white keep a small room from chopping itself into visual bits; paint the lower boxes a shade darker and the wall gains weight it may not need.
Aligning the seams takes the most patience. Lower boxes usually run taller than upper ones, so the horizontal joints do not line up across the chair rail.
That asymmetry is intentional in traditional work, but if it bothers your eye, plan both tiers on paper first and adjust until the verticals meet or deliberately miss.
Two tiers take roughly double the cutting and twice the caulk. Budget the hours, not just the lumber.
A room with standard ceilings can handle this; anything lower and the upper tier starts to press down.

Table Saw Miter Sled: This is the perfect table saw sled, no adjustments needed! Simply cut one piece on the leading face, one on the trailing face, and voila! Since both pieces reference off a perfect 90-degree angle, the miters will fit perfectly.

PERFECT FOR WOODWORK: This woodwork tool set is the perfect pack for helping you to complete your wood work craft projects. Use the precision cutting tool to create angles for wooden frames, shelves and more!
Tools Needed
A nail gun drives fasteners faster than a hammer and leaves smaller holes to fill. Caulk closes the gaps where walls are not truly flat, and paint finishes the job.
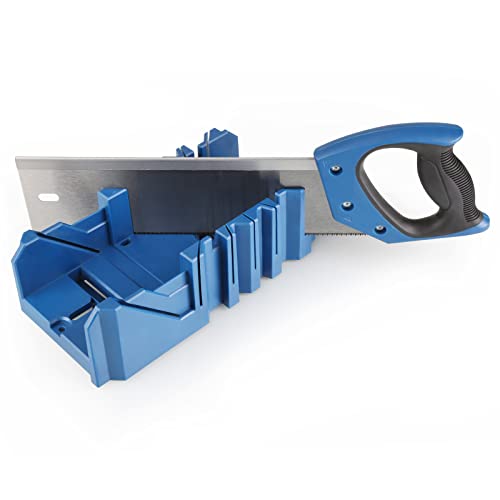
For shallow 1×2 inch boards in a rental, a simple miter box and hand saw work; the cuts are fewer and the tolerances looser.

3-in-1 product; wood filler, grain filler and sealer

DAP Premium Wood Filler is a custom 3-in-1 stainable wood filler, grain filler and sealer coat that is ideal for interior and exterior wood projects

Color matched by Color Fast to Custom Building Products/Polyblend grout line
Design Considerations
Room layout sets the box rhythm.

True Blue vials, superior accuracy, durability and visibility

[INNOVATIVE WRAP AROUND FEATURE] The wrap around design simplifies edge measurement on diverse materials, catering to both small and large projects seamlessly.

Ease To Use: 60 times faster than a tape measure, the surface holes assist stable drilling and the V-shaped grooves at the edges help with measurement
Frequently Asked Questions
What are the trim boxes on walls called?
They go by box moulding or picture frame moulding, depending on who you ask. Both names fit because the trim forms rectangular frames on the flat wall surface, and those frames often hold actual art or stand in for it.
How to do box molding on walls?
Start with a paper plan drawn to the wall’s actual height and width, then mark boxes around the furniture that will sit in front of them.
Cut clean 45-degree corners on a miter saw with a fresh blade and a sacrificial fence, dry-fit each box before nailing, and keep the gaps between boxes tight, about 3 inches, so they read as texture rather than scattered frames.
What is the difference between box molding and wainscoting?
Box moulding sticks to the wall surface as decorative trim, while wainscoting is paneling that covers the lower section of the wall from chair rail to baseboard.
You get the split, layered look of traditional wainscoting without the raised panels; the boxes mount flat onto the drywall rather than replacing it.
Is box molding timeless?
Yes, and that is why it survives budget trends and style cycles. Swap out the art every few years and the wall still holds together; the moulding itself does not fight whatever you hang inside it.
A grid of rectangles reads as architecture when painted quiet colors like sage green, and as deliberate framing when it carries actual pictures.